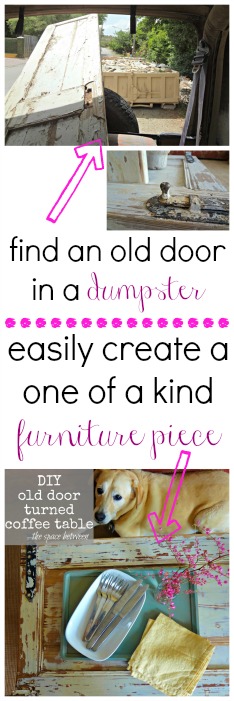
(Click here for the intro to this project.)
So, here is what the coffee table looked like once I had the 4 legs and casters attached to the bottom door panel of the coffee table.
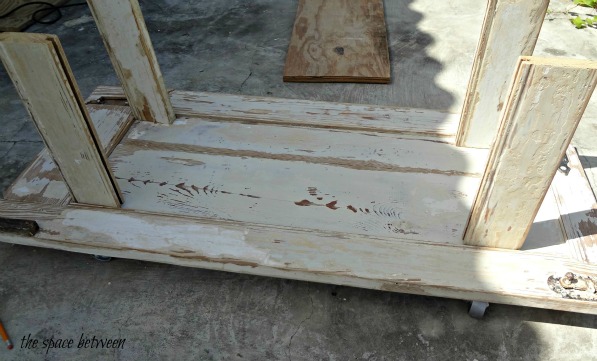 And here’s a bit of useful assembly info.
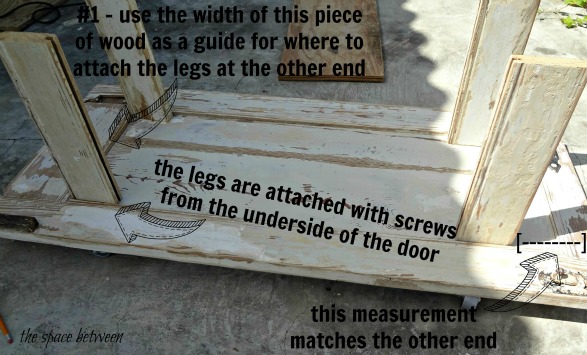 And my favorite tip that I have to remind myself over and over, and over.
TIP!!! Drill pilot holes in any area you need to screw that could be unstable. Every. Single. Time. Just do it! It saves time in the end. Promise.
As with most projects, it’s just me around here, with my own two hands. I knew it would be a bit of a balancing act to try to get the 4 legs attached to the first part of the door. The pilot holes save my sanity. Seriously.
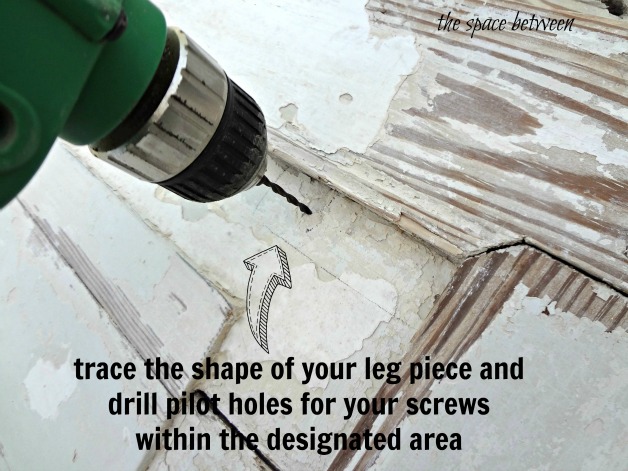 Run a bead of glue on the end of your leg piece, start the screws in your pilot holes, balance the other end of the soon-will-be-a-coffee-table on something about the same height and screw ’em in.
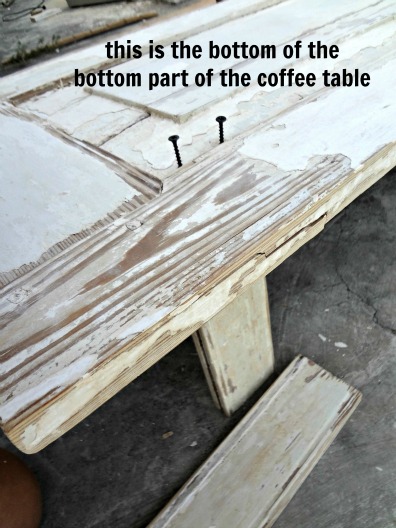 Once all 4 legs were attached, I just measured inside from the edge an inch and added the 4 casters lined up with each leg. Then flipped this whole contraption over … and here we are.
 Make sense so far?!?
I chose to go just as easy with the top part and just repeat the previous steps …
… put the top door piece on top of the legs …
… do some minor measuring to make sure they’re pretty much in the same positions as they are on the bottom door piece …
… draw the templates right on the top of the coffee table where the legs will be attaching to the underside (pencil marks sand off like a charm) …
… drill pilot holes …
… GLUE each leg NOW … once even one leg is attached you won’t be able to lift the top to glue the others.
Seems so common sense-like now that I’m pointing it out as rocket science, but I learned the hard way for sure.
Even though I was going to be screwing right into the top of the coffee table, I was hoping to hide the screws … here was the plan.
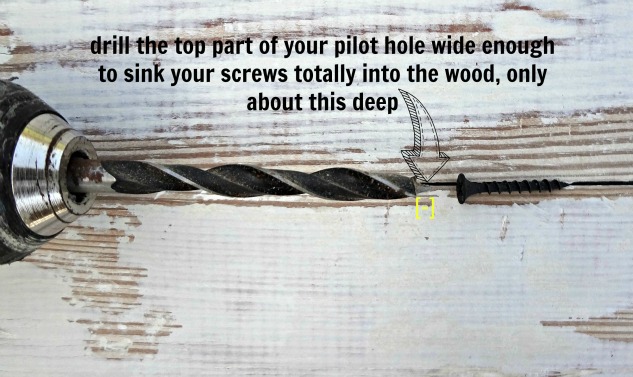 And you may end up with this.
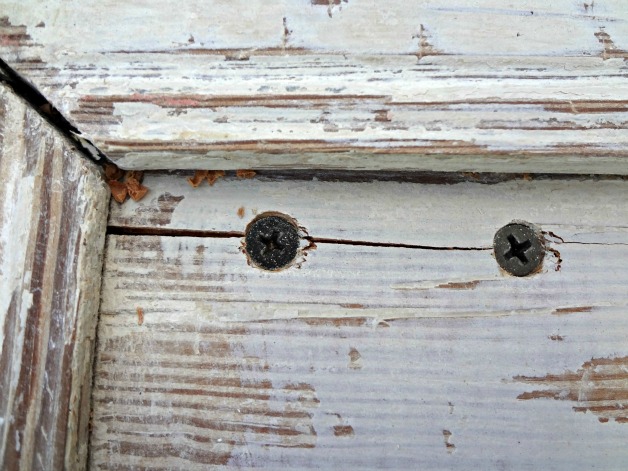 Yeah, that’s a new crack. But what’s the use of working with old wood if you’re not going to embrace a new crack or two? 🙂 #intentionalimperfectionismyspecialty
And, after a little homemade wood putty could look like this.
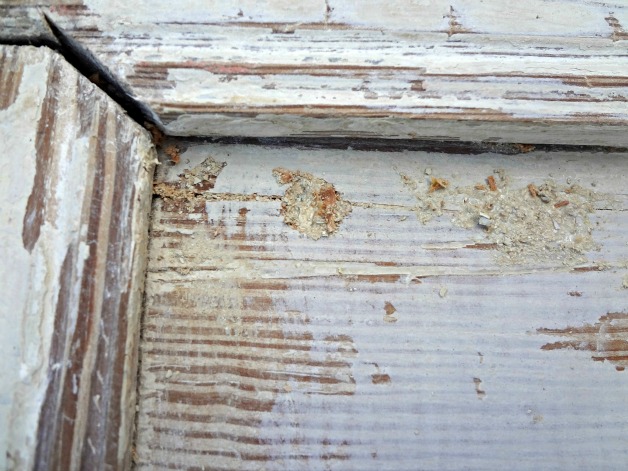 And after a little hand sanding, could look like this.
You can see them if you’re really looking, but they fit right in on the decrepit old door coffee table and haven’t bothered me one bit. Two points if you noticed. 🙂
And a close up of one of the swivel casters …
 And here is where I was going to have all kinds of awesome new shots of the new coffee table taken with our new camera … but a couple of things happened.
We still have these awesomely ugly couches … and a bad backdrop does a bad picture make.
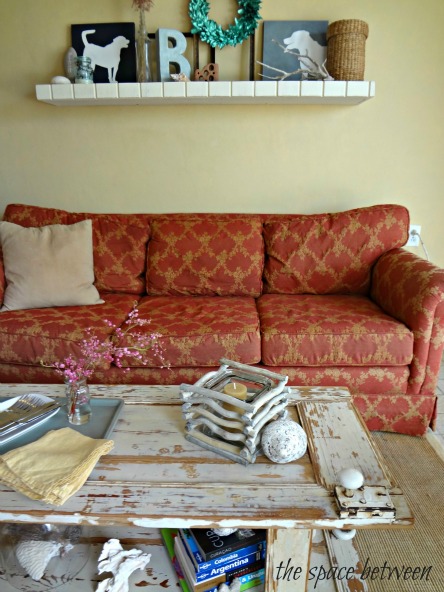 And I only took real life pictures … didn’t realize you could actually see our mess of cords coming out the top of that basket. And, for real, we need a better cord solution. It is a technological jungle in that basket.
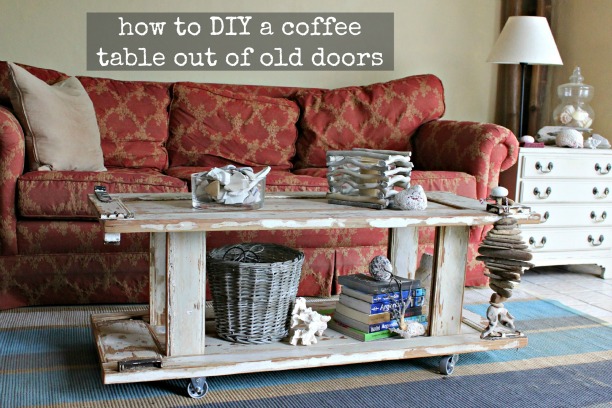 There you have it, our new favorite piece of furniture. She’s definitely the focal point of the living room now, and a solid transition in a new direction. Thank. Good. Ness! 🙂
And, here you can see the before pics in all their glory and hear how I got it from a chipping mess to a sanded mess masterpiece. And here’s the story of my husband’s first reaction to the project.
Do you have a favorite project of all times? Or is it forever shifting? What’s your coffee table made out of?

