This post may contain affiliate links which won’t change your price but will share some commission.
Note: I’m working away with my dad and Sue and we’re making progress on a bunch of different projects in Maryland. This week I have appointments with a couple of realtors to get suggestions for a list price for our house and our pack and move days are scheduled for the end of the week. Here’s hoping it all goes as planned.
Considering that we have just moved to quite a popular destination wedding location and I never get tired of reminiscing about our wedding, I couldn’t pass up the opportunity to play with a bunch of fabulous bling from the David Tutera bridal collection.
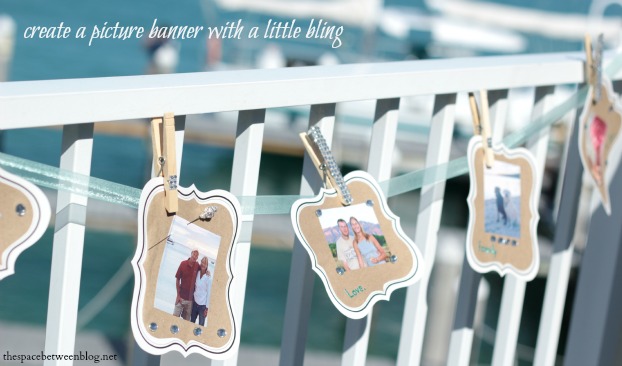
Specifically I thought it would be fun to recreate our welcome table complete with our unique guest book (more on that in another post) and a fun picture banner idea I wish I had created for our own special day.
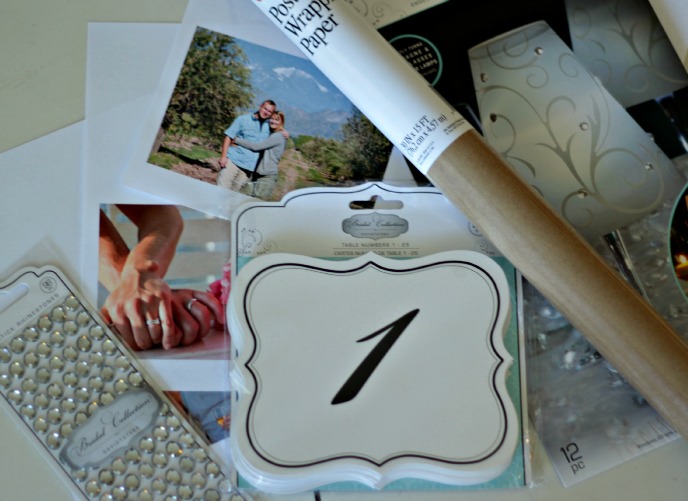
The David Tutera Bridal products I used include:

- table number cards
- self-stick oval rhinestones
- self-stick rhinestone sheet
- Crown Picks with Rhinestones & Pearl Top
Additional supplies (all purchased at the Dollar Store) include:
- ribbon
- craft paper
- glue stick
- clothes pins
- glitter letter stickers
I think a picture banner would be a fun way to greet your guests at a wedding reception or even a graduation party, shower or anniversary party. Any fun party that is a celebration of a milestone really.
Here are the steps I took to create a do it yourself picture banner with a lot of fun David Tutera accessories.
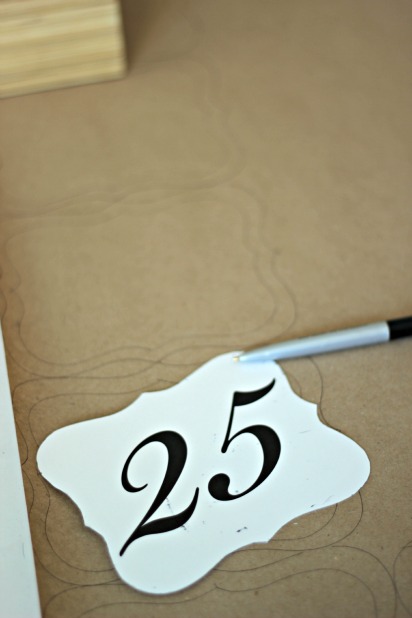
Step 1 – Use a David Tutera table number as a template to create slightly smaller craft paper quatrefoil shape. The table numbers have a black decorative line on them that I just cut around to keep the same shape, just slightly smaller. I knew I was going to make 5 different pictures for the banner so I cut 10 shapes out of the craft paper so I could cover the front and back of each table number.
 Step 2 – Glue these smaller craft paper quatrefoil shapes onto the front and back of table number cards.
Step 3 – Glue your pictures onto the craft paper. I just printed my pictures on a regular color printer and used a glue stick for all of the gluing. Place something a little heavy on it while it sets and you’re good to go.
Step 4 – Bling them out with David Tutera goodies. I really love the look of the crown pick as a pin and the oval rhinestones added just the right amount of sparkle.
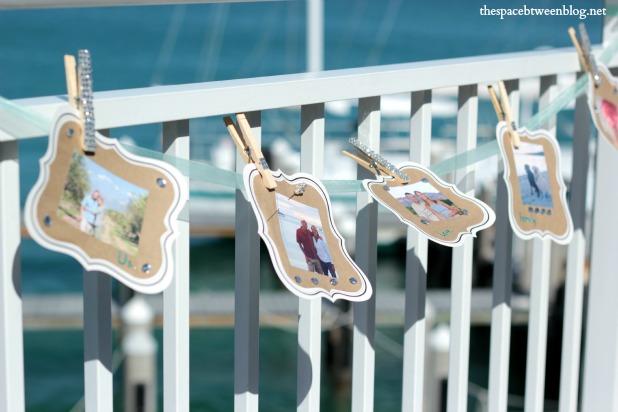 I also thought it was fun to add a few words in aqua glitter stickers. I said things like “Us.”, “Love.”, “family” and “I do.”. The stickers would be a great way to tie in any potential party color schemes you have working … notice it matches the ribbon I used to string up the picture banner.
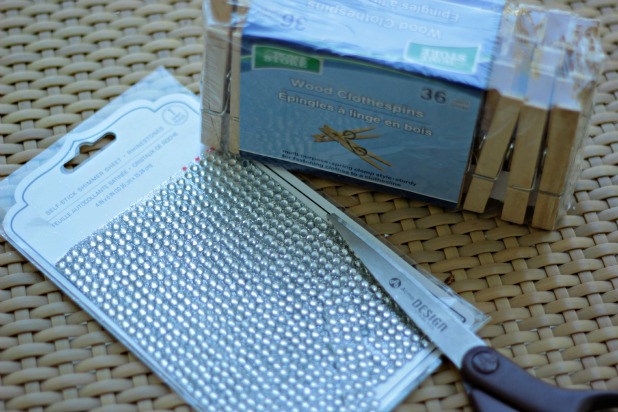
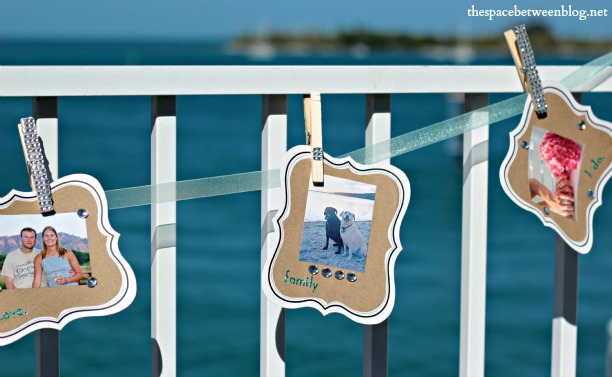 Bonus!! For a super simple little bonus project I just took the sheet of self-stick round rhinestones and cut out some pieces to embellish basic clothes pins to hang them from the ribbon to create the picture banner.
 Or if you want to create a table display you could use the black wire David Tutera table number holders … you could even spray paint those to match your color scheme, too!
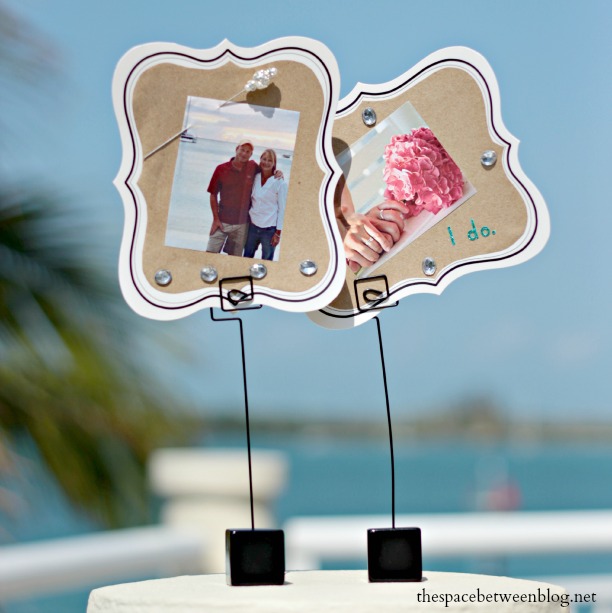 This could become a fun little memento of your special day. And since I got to make mine while we’re already married I was sure to use pictures that I know we’ll enjoy seeing around the house. Like the picture we took of our hands with my hot pink hydrangea bouquet, a picture from our first anniversary celebration in Aruba and of course one of the girls.
Now, if you’re looking for more fun ways to bling up your next celebration be sure to check out all of the great ideas they’re sharing on social media.
Darice/David Tutera: pinterest . twitter . facebook . Darice twitter
And tell me, who doesn’t love reminiscing about their wedding day? Did you have a picture banner or another fun way to display pictures of you guys through the years? Do you just love a little sparkle?

I wrote this post as part of a paid campaign with Darice/David Tutera and Blueprint Social but you know the opinions are always my own.
I’m linking this up to House of Hepworths, Shabby Creek Cottage, The 36th Avenue and Savvy Southern Style.
For more great inspiration with these fab products check out these ideas!

Cynthia Weber says
Such a great idea!
Christina @ Floridays Mom says
Great idea! My sister in law just recently got engaged and is knee deep in wedding plans. Going to share with her for sure. Good luck with the realtors and the move!! Fingers crossed it all goes smooth for you!
Karah says
Thank you so much Christina!!! I hope you’re sister-in-law likes the idea!
Carissa says
I love this! This is so cute and I like it more than the large photo boards or scrap books I’ve been seeing at weddings lately.
Karah says
Thank you so much Carissa!
Amy says
Such a cute idea!
Ashley@AttemptsAtDomestication says
These are all so cute! Almost makes me wish I was still planning our wedding, almost 😉
Karah says
LOL!
Kelly @ View Along the Way says
That’s so pretty! I like it for non-wedding stuff too! First birthday parties, etc.
Debbie says
This is lovely, very pretty. My daughter is getting married next year and I’m pinning a lot of ideas, since she wants it here. Yikes! So, I’ve pinned this, I love it.
Debbie 🙂
Tonia@thegunnysack says
Great idea! It looks beautiful!
Karah says
Thank you so much, Tonia!
Deborah {Wedding Thingz} says
What a cute idea!
Karah says
Thank you Deborah!