This post may contain affiliate links which won’t change your price but will share some commission.
I was trying to take an artsy picture the other day with our DSLR camera and I just could not get the lens to focus on what I wanted it to. And I was sure, as per usual, it was operator error.
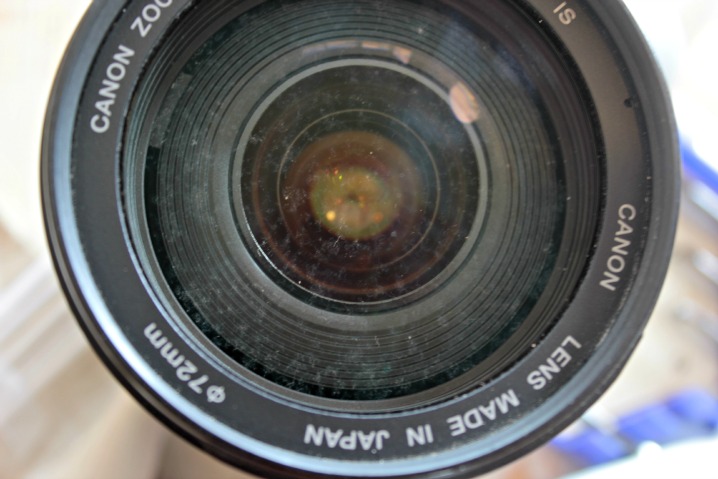
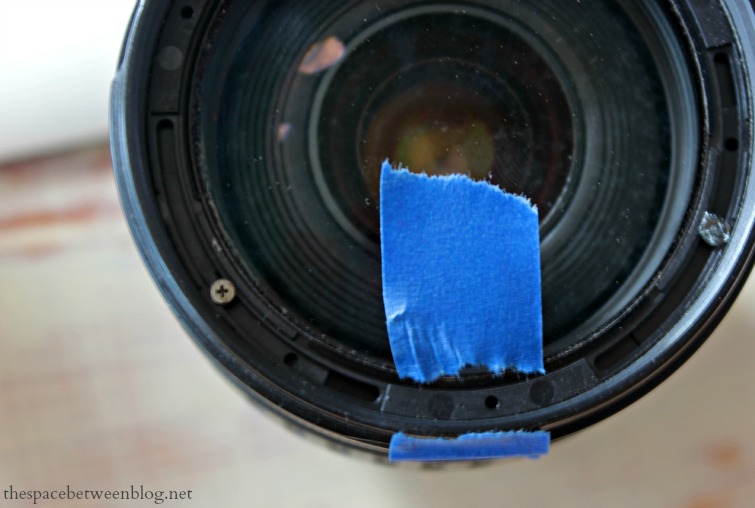
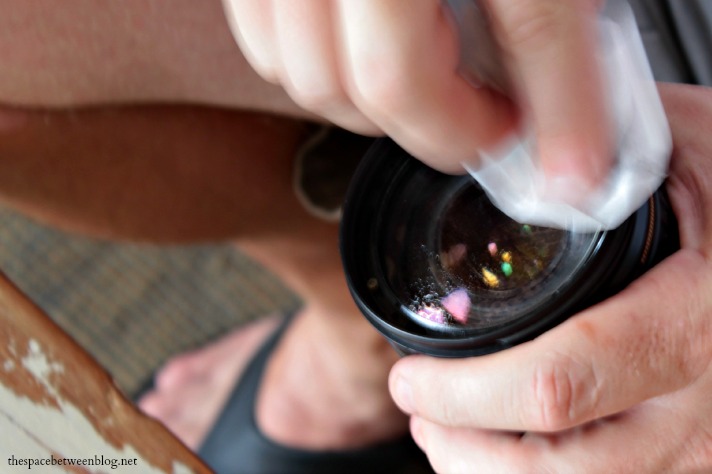
But then I took a closer look at the lens and saw this.
That’s condensation you see there inside the lens. My first thought was “gross”, but my second thought was “hallelujah” … because that meant the whole focusing thing might not be my fault for a change. 🙂
And then, of course, I thought, “we can just clean it, right?”. I would hate to this an otherwise perfectly good lens was garbage because of a little condensation.
So we did a little googling, and some serious considering about taking the lens apart to try to clean it and potentially ruining it beyond repair. The lens is this one from Canon, so it’s not what I would consider an inexpensive lens. It is about 10 years old I would guess, but all of the other features still function perfectly other than the condensation issue.
And, that one little issue really was rendering the lens useless. It was inconsistent when focusing and just frustrating to try to get a quick shot of anything.
So, we decided it was worth it to give lens cleaning a try.
Conclusion = Basically useless lens before we took it apart and worst case scenario would be that we completely ruined it during the cleaning process … meaning we weren’t really losing anything. Worth the risk.
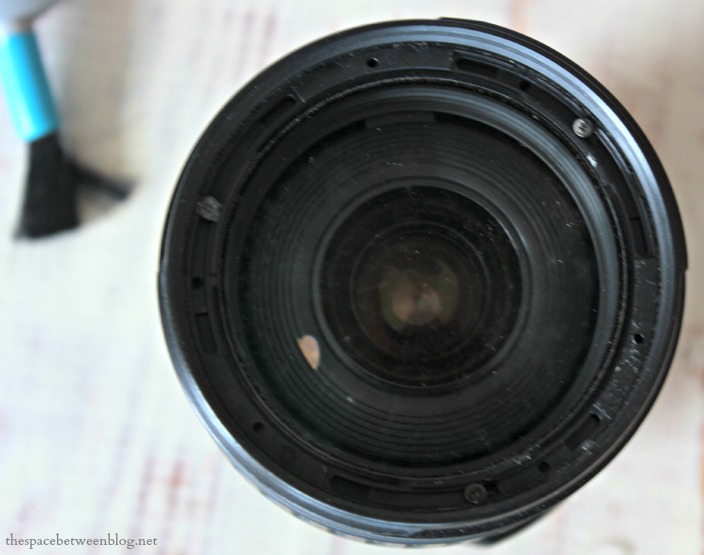
And, I’m happy to report IT WORKED! Don’t you love it when that happens. 🙂
So, here is how to extend the life of your camera lens by cleaning it from the inside out.
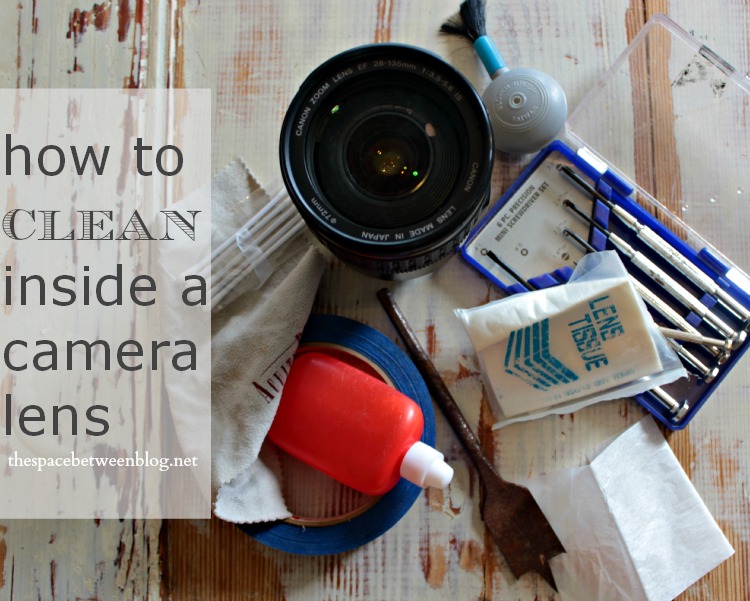
Supplies you will need:
- lens (ok, captain obvious)
- a pointy tool … we used the drill bit, I would recommend a toothpick
- masking/painter’s tape
- small screwdriver … think the size that work for eyeglasses
- lens cleaning wipes/cloth
- lens cleaning solution
- lens cleaning blower/brush thingy
- q-tips optional
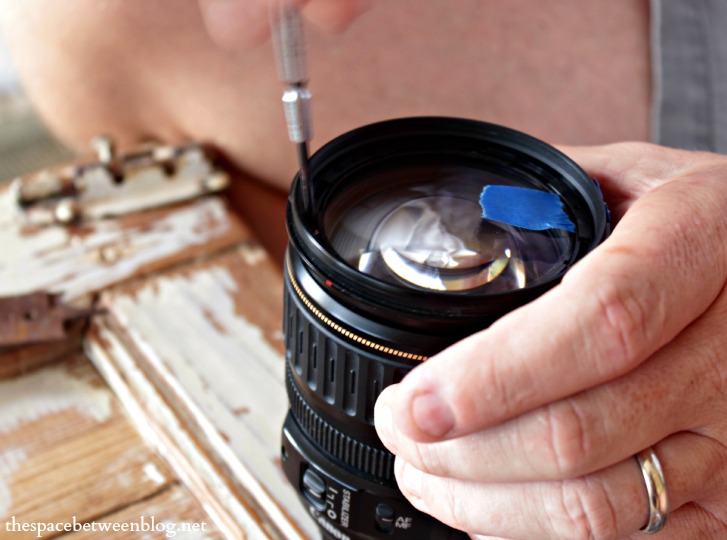
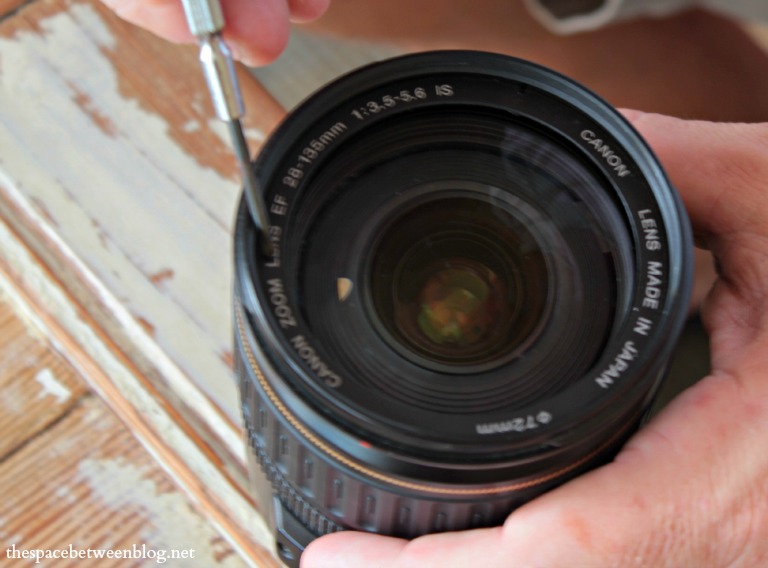
Step 1 – Use your pointy tool to remove the sticker ring that is attached to your lens, it usually has your lens specifications listed on it.
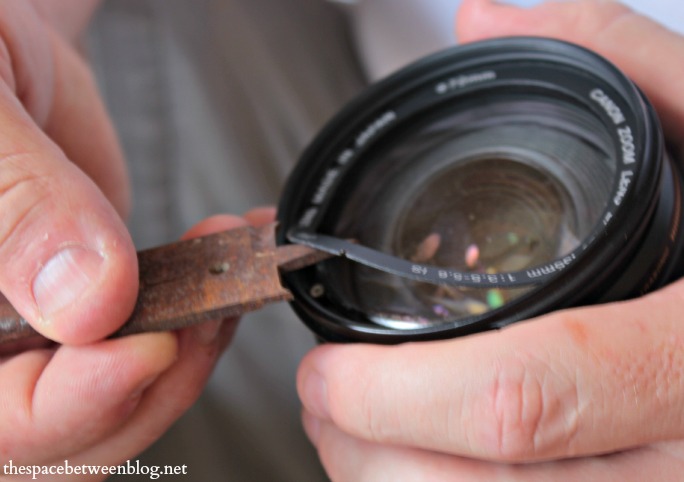 This will expose the tiny screws holding the lens glass in place.
Step 2 – Use masking or painter’s tape to mark how the lens glass is lined up with the lens body.
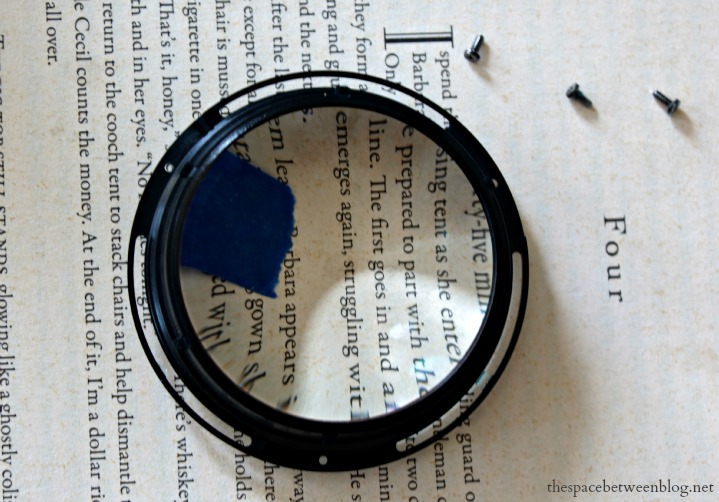
Step 3 – Remove the 3 small screws and lens glass.
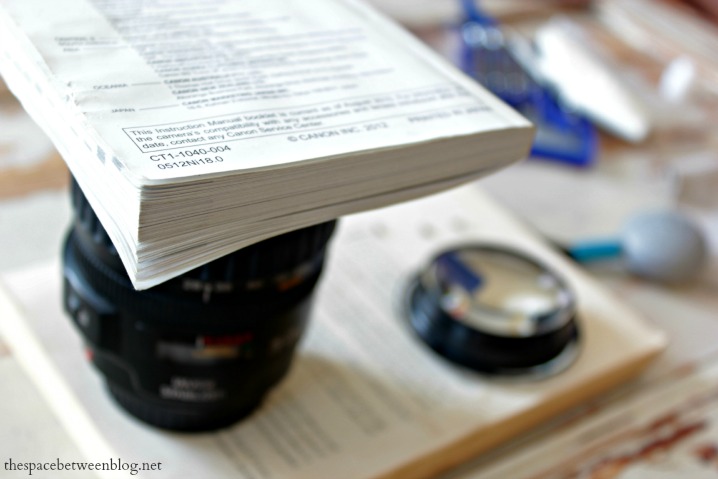
To remove the lens glass we just placed a book over the top of the lens once the screws had been removed and flipped the whole thing over. We had to lightly pound the lens onto the book a couple of times to before the lens glass actually came out.
Then we covered the now exposed innards of the lens with another small book to prevent any dust from finding its way inside.
Note: Throughout the process the other end of the lens, the one that you attach to the camera, is covered by the screw on cap that comes with the lens.
Step 4 – The lens cleaning.
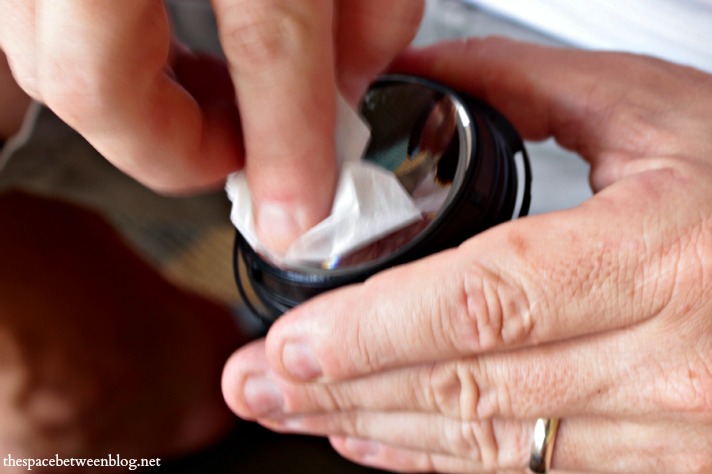
We just used lens cleaning solution and lens cleaning tissue paper wipes. You could use q-tips or a lens cleaning cloth if you prefer. We also used the lens cleaning blower/brush thingy to blow/brush off any loose debris.
Step 5 – Reassemble.
After the lens glass is thoroughly cleaned on the inside, carefully line up your tape pieces, set the lens glass back in the lens body and screw in the 3 small screws.
Step 6 – One more spritz and wipe of the outside of the lens before replacing the ring sticker with the lens details.
And we just used the tip of the screw driver to nudge the sticker ring right back into place … being careful, of course, to not touch the screw driver tip to the actual lens glass. And yes, again, I am the master of the obvious. 😉
And there you have it …
And I’ll just remind you to definitely just do this at your risk. We are not experts and have no formal training in how to take apart your very expensive camera lens to remove a little gunk. We just happened to do it ourselves with great results. Phew. 😉
Happy lens cleaning!
*post contains affiliate links

Audrey Zumwalt says
Great Tutorial … bookmarking this page just in case I ever need to do this.
Thanks for sharing.
Audrey Z.
Timeless Treasures
Karah says
I was so happy to be able to save the lens!
Linda @ it all started with paint says
Okay, I pinned this for future. My lenses are still new but one day I will need to clean them from the inside out!
🙂 Linda
Thistle says
Karah,
I would never have thought of cleaning your lens from the inside out! Thanks for posting this!
blessings,
karianne
shirley@housepitalitydesigns says
Without a doubt…you can do anything!!…thanks for showing us how to do this!!…
Ashley@AttemptsAtDomestication says
That’s great to know Karah! Thanks so much for sharing, I’ll definitely have to keep this in mind! 🙂
Melissa-TheHappierHomemaker says
Great tip! I had just written on my to do list to take mine to get cleaned-you may have given me the bravery to try it on my own! Thanks! Here from HomestoriesAtoZ!
Karah says
Thank you so much for visiting Melissa!
Kelly @ View Along the Way says
I definitely have some gross lenses that could use this treatment. Pinning!
Kelly @ Eclectically Vintage says
I’d be afraid … very afraid to attempt this – but great job!!
Karah says
I was too!!!
Alisha @ Crafty Brooklyn Army Wife says
TFS! I don’t know if I would attempt this…I might. Stopping by from Tip Junkie’s linky party. Here is what I shared this week: http://craftybrooklynarmywife.blogspot.ca/2013/01/fun-fur-boa-scarf.html
Karah says
Hahaha, I was scared for sure … but it worked so well!
malia says
Hi Karah, Great idea… I never would have thought about doing this!
Karah says
I was scared to do it, but it worked out great!!
heatherlalondeheather says
thank you so much for sharing this. i saw it on pinterest. my lenses are in great need of cleaning but i didn’t want to send them out and have them gone for a while.
Stephen Goetz says
Thanks for this. Would have enjoyed it even more without the cute (difficult to read) font.
Karah says
Thanks for the heads up on the font, after a recent blog redesign a few older posts were affected. Should be fixed now!