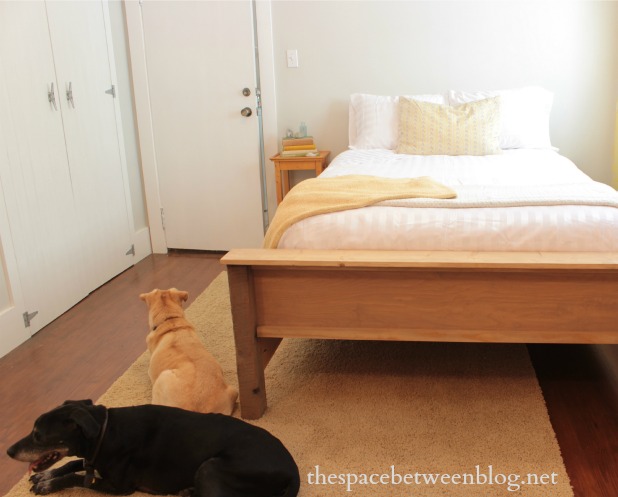
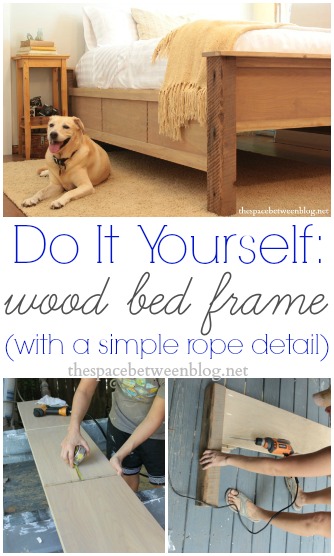
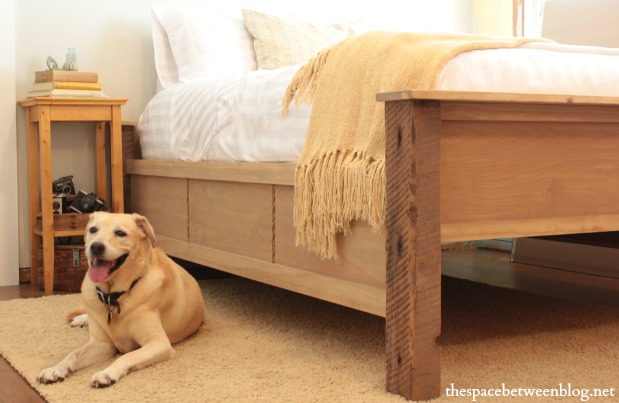
Holy heck … we made a wood bed frame!
I didn’t have the heart to make those girls get up even though they wouldn’t look at the camera. #oldladydogslikemycompany #iheartthemtoo
I am so excited about this project! Every time I look at it it’s like it says to me “See, you will live like regular people here soon, you will get there, I promise”. Because she knows that a home is so much more than just a shell. And then I want to hug her and lay with her … which sounds weird … but she is a bed.
And then I just look at Joel and cock my head and smirk all arrogantly silently saying “Ha, no mattress on the floor up in this house!”.
And then I go into our master bedroom and see our mattress on the floor.
And I had never made a bed before. Heck, I’ve never really made any kind of furniture. And this was another one of those ideas that percolated in my brain for a while, all by my lonesome … and we all know how I get with those kinds of solitary projects.
And then a funny thing happened, I saw a random post on some social media outlet about a wood shim bed that Ana White had just posted plans for and with one quick glance at her plans I knew I could make this bed.
I just knew it.
Now, our bed is not a wood shim bed and does not follow Ana’s plans, but I did incorporate some of her design into our bed. And somehow just reading through her plans gave me the confidence to make this bed happen. So, high fives Ana!! You were my cheerleader and you didn’t even know it. 🙂
So, let’s get started, because I know you, too, can make your very own wood bed frame if you want to!
It really helped me to break it down so I could make sure I had my mind wrapped around exactly what I was going to do.
Bed Frame Design Concept
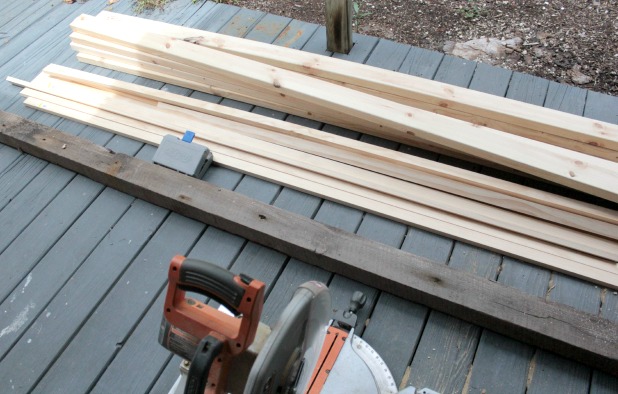
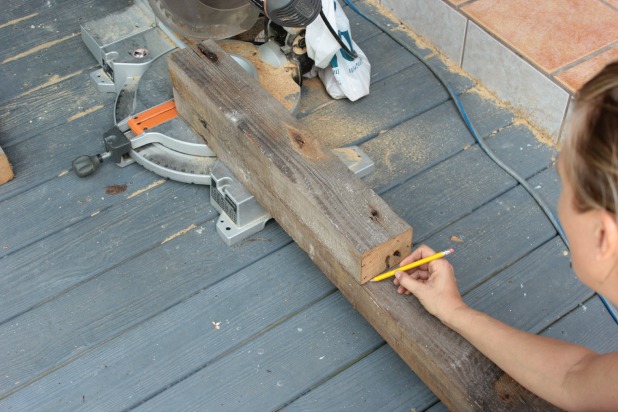
Legs – We had rescued a Dade County Pine post from our neighbor and I knew I wanted to use that for the legs. You could use a 4″ x 4″ post or maybe find a post at a salvage yard or Habitat Restore.
Headboard and Footboard – I had a leftover piece of Purebond plywood from our closet shelves that would work. Our closet shelves are 24 inches wide so we just ripped one leftover piece in half to create 2 12″ wide pieces. One for the footboard and one to act as a support between the two front legs of the frame. I knew I wanted to create a separate headboard that I could switch out if I wanted to so I did not incorporate an actual headboard into the design, just that piece for stability.
Side rails – I had enough leftover pieces of Purebond plywood that I knew I could piece them together for the side rails. And I had leftover 3/4″ thick rope from a totally different project that I thought would be a fun detail in between the pieces together plywood.
Supplies if you’re Purchasing all Materials
- take the measurements of your mattress and have pieces of Purebond plywood cut 12 inches high and the length of your mattress measurements
- 8 1″ x 2″ trim pieces 8 feet long and by 2 of the same but 6 feet long*
- 2 2″ x 4″ 8 feet long and 3 that are 10 feet long – these will be for the frame supports
- 4″ x 4″ post for each leg, our legs are 25 inches long
- 1 1″ x 6″ white wood board the same length as the width of your mattress plus the leg posts (to go across the top of the footboard and posts)
- 2 and 3 inch screws
- If you’re making a platform bed, without a box spring, you will also need a sheet of inexpensive plywood cut to size to serve as the mattress platform.
*Our mattress is a full, so any measurements I give are specific to our project, but just use the size of your mattress as your guide.
Now, I had already stained my plywood from the closet project and waited until the very end to stain the added 1″ x 2″ trim pieces. You could stain all your pieces first, or once the side rails are assembled, or after … it doesn’t really matter.
Tools
- screwdriver
- miter saw
- Kreg Jig Jr (or you could use L brackets to attach your rails to the legs)
- tape measure
- wood glue
- hammer and finish nails or a finish nail gun
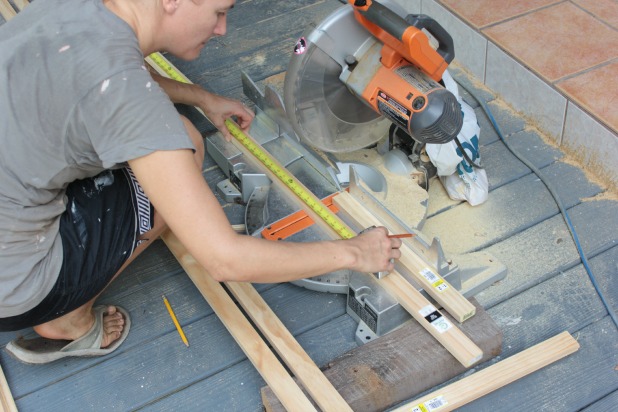
Based on the measurement of your mattress make all of your cuts
- 4 legs of equal length (ours are 25″ and I used the first cut leg as a template to make sure each leg was exactly the same height)
- 8 1 x 2’s the length of your side rails (ours are 76″)
- 2 1 x 2’s the length of your footboard (ours is 53″)
- 2 pieces of plywood 12″ high and the length of your footboard (ours is 53″)
- 2 pieces of plywood 12″ high and the length of your side rails (ours are 76″, and I pieced together 3 scrap pieces on each side)
- 2 2 x 4’s the length of your side rails plus 4 inches
- 6 2 x 4’s the length of your footboard exactly
Wood Bed Frame Section Assembly
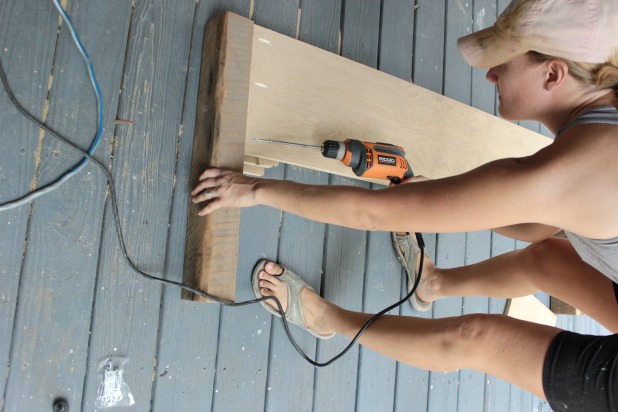
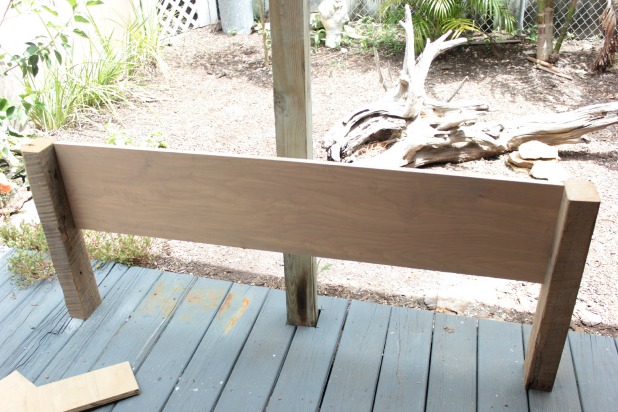
The headboard support is the easiest – just drill your pocket holes with your Kreg Jig Jr into each end of the piece of plywood and attach with screws to two of the leg posts.
I made the posts and plywood flush at the top and back, so the mattress wouldn’t sit out too far from the wall. Here is what she looks like from the front, imagine our yard is actually the wall in the bedroom.
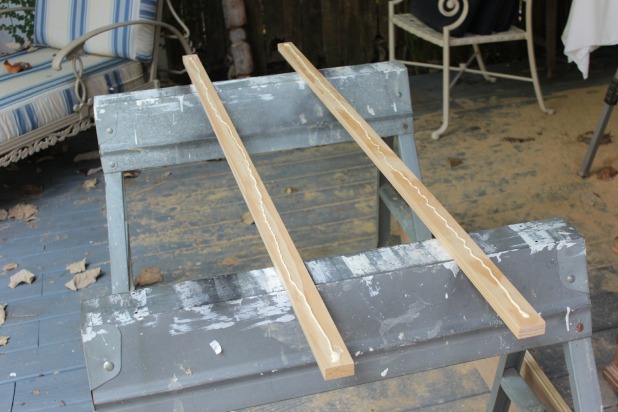
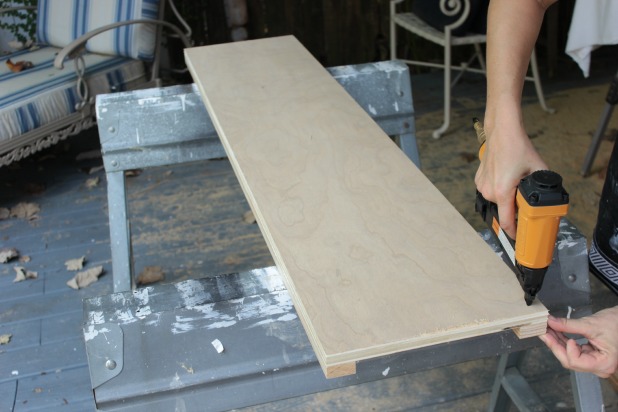
Footboard – attach the 1×2 strips along the top and bottom edge of what will be seen at the end of the bed with wood glue and finish nails.
Tip!!! Nail with 1 1/4″ nails from the plywood side you your nails won’t be seen in your finished product.
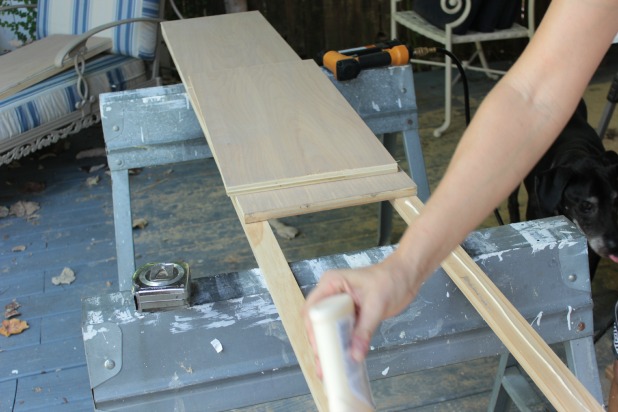
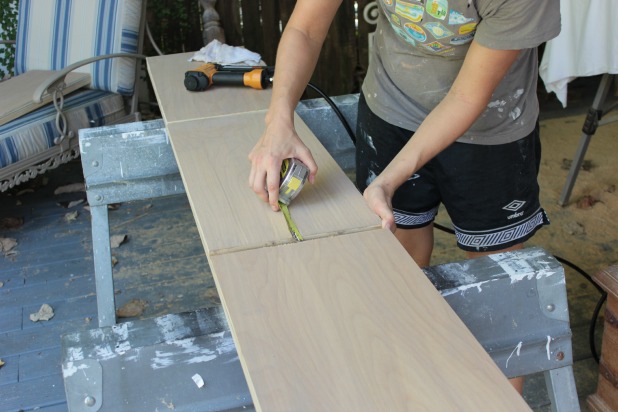
Side rails – If you are using full sheets of plywood the assembly is exactly the same as the footboard. Since I was piecing together scrap wood, I used 3 separate pieces of plywood …
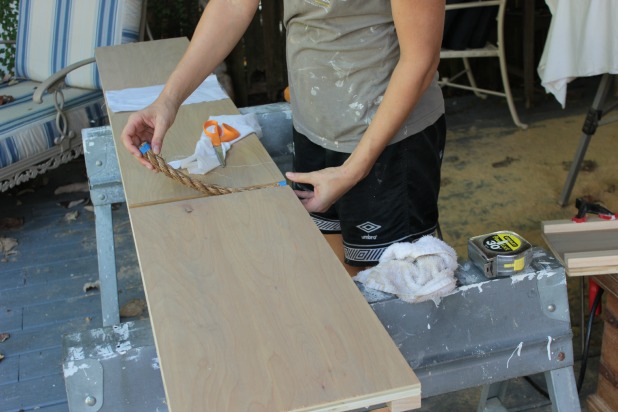
… and left a 3/4″ gap in between each …
… for the added rope detail.
You can see in that picture above that I stapled pieces of white fabric behind the rope sections, but it’s totally unnecessary. And you can see off to the right that I did clamp together any sections that didn’t seem to hold tight with just the glue and nails.
If I had been totally on my game I would have added edge banding to the ends of the plywood by the rope, but I didn’t, and you can’t really tell.
And if you are a guest coming to stay with us and for some odd reason feel like you want to point out that you really can tell that I should have added that edge banding … I warn you now … hotel rooms in Key West are expensive … tread lightly. 🙂
Now just drill your pilot holes in each end of each side rail and you’re ready to assemble the 2 x 4 frame supports that your mattress and/or box spring will rest on.
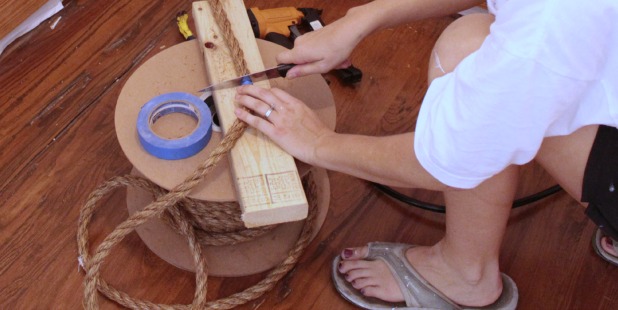
Oh, and we found wrapping the rope with painter’s tape where we wanted to cut it and just using a basic serrated knife worked great.
2″ x 4″ Bed Frame Support Assembly
To say I don’t have a good picture of this step is an understatement. Sorry about that. :/
But, you already have your pieces cut. 2 at the length of your side rails plus 4 inches and 6 at the exact same measurement as your footboard.
Just lay the two longer pieces parallel to each other and lay the other 6 down perpendicular to those creating a rectangle and attach. I put ours 14″ apart. 🙂
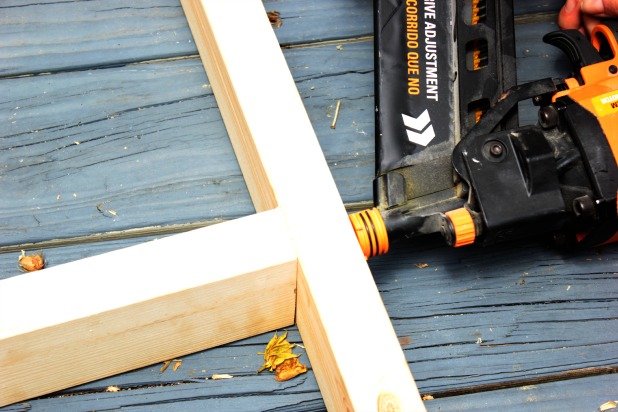
I used our framing nail gun with 3 1/4 inch nails, but you could use screws, you could drill pilot holes in each 2 x 4 use and use counter sunk screws, you could use L brackets … I might just like to come up a reason to use the framing nail gun whenever I can. 🙂
I promise … a better picture of the assembled 2 x 4 frame is coming up.
Put her all together
Measure the height of your mattress and determine how high you want your bed to decide where to screw the 2 x 4 frame into each of the leg posts. 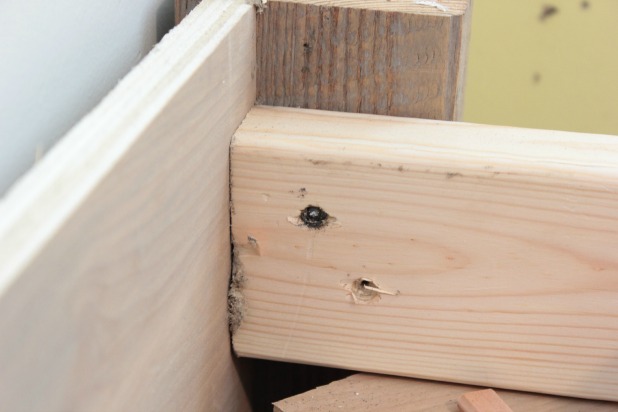 Two noteworthy points here – whether or not you should screw in your 2 x 4 frame all the way in by your headboard will be determined by your measurements … and many more details regarding that sad, mangled screw are coming in the next post. Screw your 2 x 4 bed frame into your side rails.
 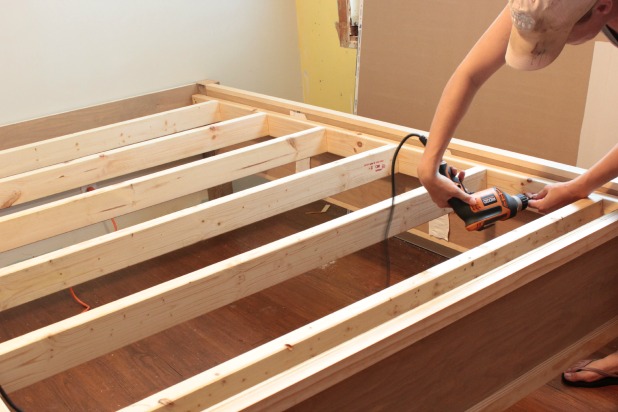 And where your pocket holes are accessible, screw your side rails into each leg post.
 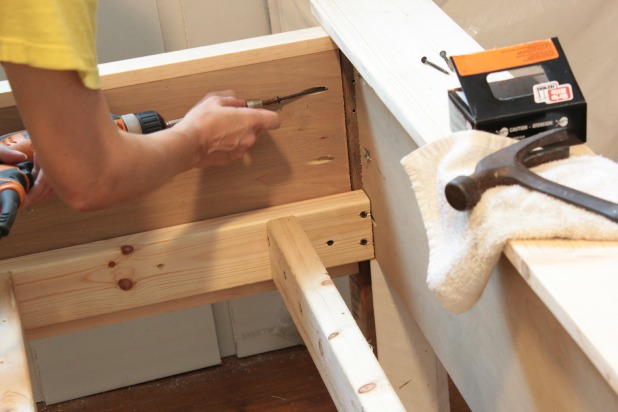 Since we only have a mattress for our guest bed, I had a sheet of inexpensive plywood cut to size to lay over the 2 x 4 frame …
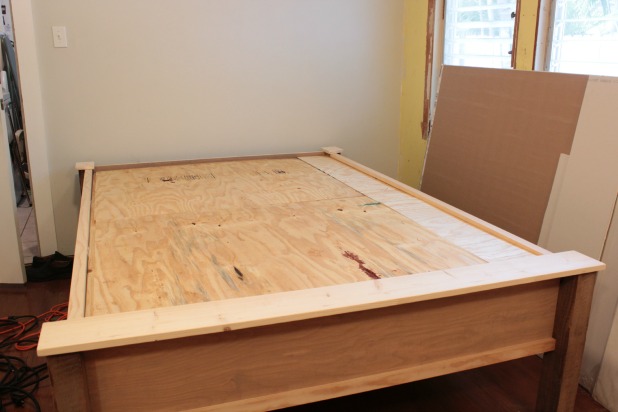
… and then I cut the 1 x 6 to lay flat over the footboard and leg posts and two little 1 x 6 pieces to cover the top of each front leg post … they overhang each end by 1/2″ and are attached with wood glue and small finish nails.
Then I added edge banding to the top of the headboard piece, …
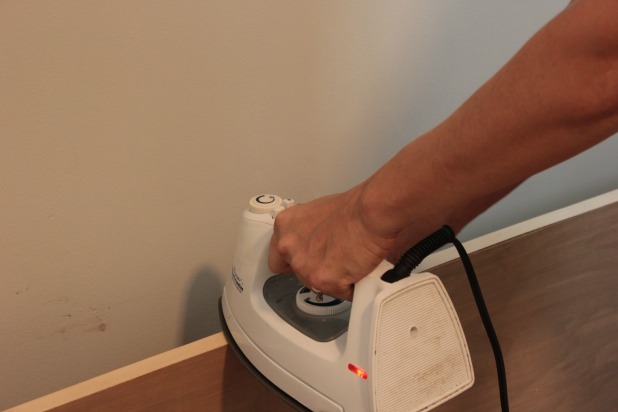 … stained everything that needed it …
 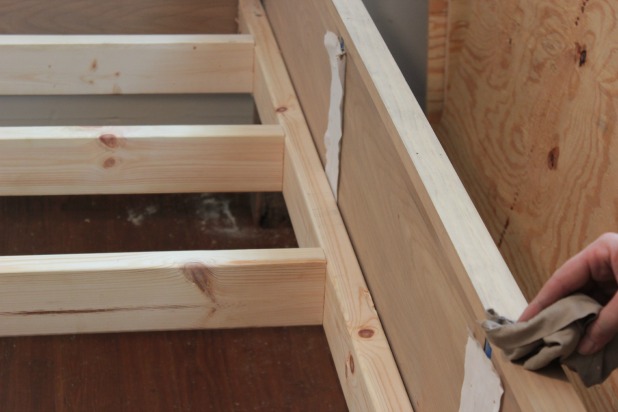 … and then she’s ready for your mattress and your guests!!
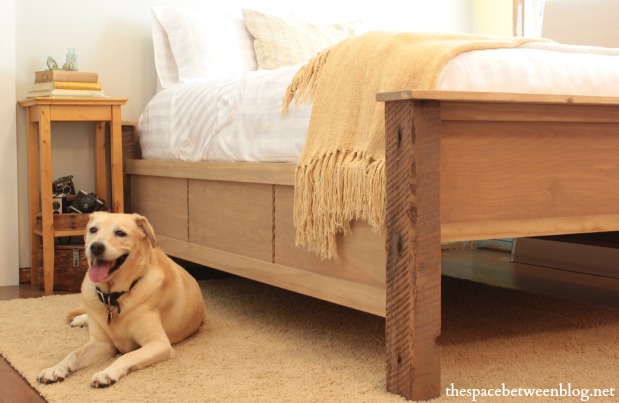
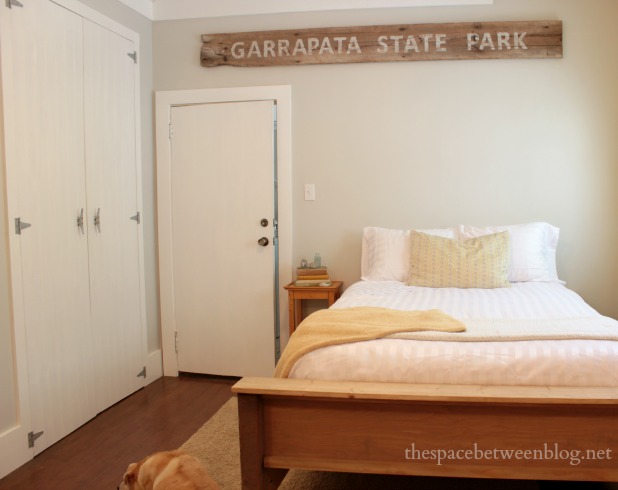
And doesn’t she look so at home in the guest room? I love her. And she’s given this room a lot more street cred in the whole “I am a real room and people will come stay in me” department.
But she’s also a little like “Hey cutie, what’s up?”
Then she turns around and you’re all “Oh, sorry, I totally thought you were someone else”. 🙂
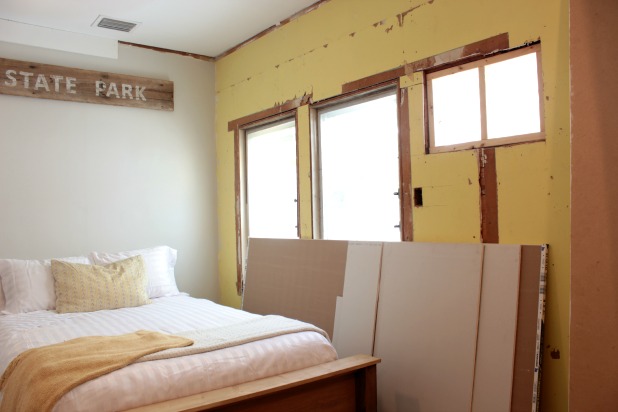
And I’m not even going to tell you what’s going on behind me as I take these pictures. Let’s just say you might still be able to see insulation … and there might even be a sheet stapled to the studs.
Cue the maniacal laughter as I’m smelling a secret project going on back there …
Dun Dun Dunnnnnnnnn
How’s that for a suspenseful, thriller-style ending?
We’ve got all of the windows and doors on order and should have them installed next week. Once that happens we’ll be free to finish up those last few walls with drywall and paint … among a bazillion other projects in other rooms … and get some more furniture set up in here.
That bed needs some company I say.
And if you’ve missed any step of this room upgrade you can get all caught up right here. And check out the wood bed frame making tips I learned along the way.
