the space between

upcycle, repurpose and reinvent your space

  • about
  • aruba
  • key west
  • curacao
  • projects
  • house tours
  • privacy policy

Day #21 – where to hide your money on vacation

October 21, 2013

Happy Monday!!

Hey, thanks for letting me catch a little breather over the weekend. I dropped my cousin at the airport early this morning after a fun filled weekend.

Fantasy Fest has officially started here in Key West. If you don’t know what that is, like me when we moved here 10 months ago, google it. But be very careful if you choose to do a google image search. I’m just sayin’.

But, all this talk of my cousin on vacation and this being one of the biggest vacation weeks in Key West, it seems like a good time to share a little idea for where to hide your money on vacation. [Read more…]
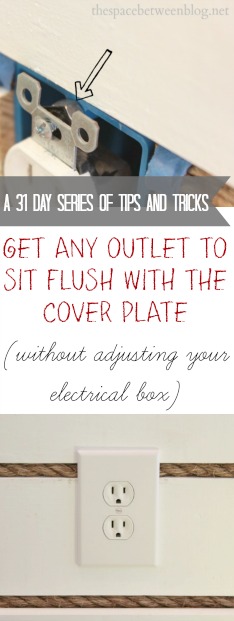
Day #18 – the secret to getting your outlets to sit flush with the outlet cover

October 18, 2013

Ok, so here’s a little DIY tip for you.

You know, ’cause we’re a DIY blog.

We’ve talked a lot about having to update every single surface in this house. From the walls to the ceilings to the floors. (<– so many ugly fun before pics at those links, oh the memories)

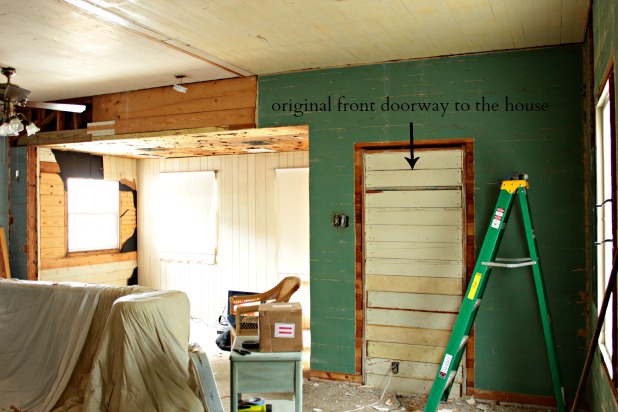
We’ve worked through layers of paneling and drywall and wood slats. Remember that weird old ceiling height in the front of the house and those little square windows?

living room demolition

And as we’re either adding or removing layers from our walls we have all of the previously run electric boxes to contend with.

They’re good quality boxes with upgraded electric … if you have ungrounded wires you might want to call in a professional.

So the only issue that we found ourselves contending with in most cases:

How to get our outlets to sit flush with the cover plates.

There’s this wall for instance.

diy wood frame bed

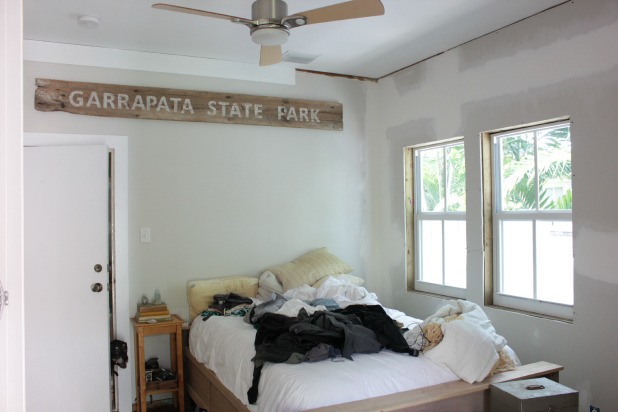
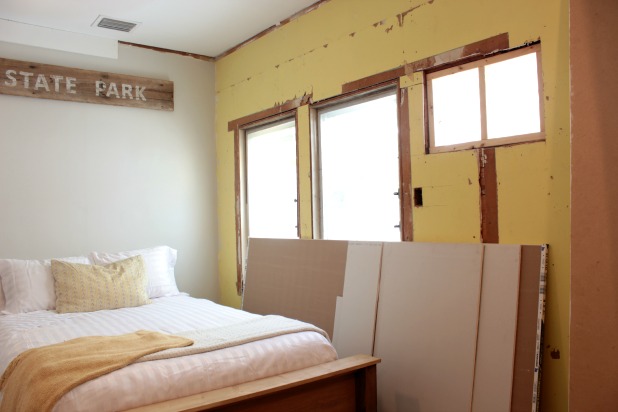
The drywall was all torn and ripped and patched in weird places. And I may have been burnt out on demolition so we opted to just drywall right over it after our new windows were installed.

guest bedroom October 2013

Let’s not worry about what is going on on the bed, look right past that and just check out the new drywall. Thanks. 🙂

So, adding a new layer of drywall added another 1/2 inch of depth to our wall, but we didn’t change the depth or location of our outlet boxes.

And then I’ve got another scenario for you.

An accent wall. Or feature wall. Or whatever-you-want-to-call-it wall.

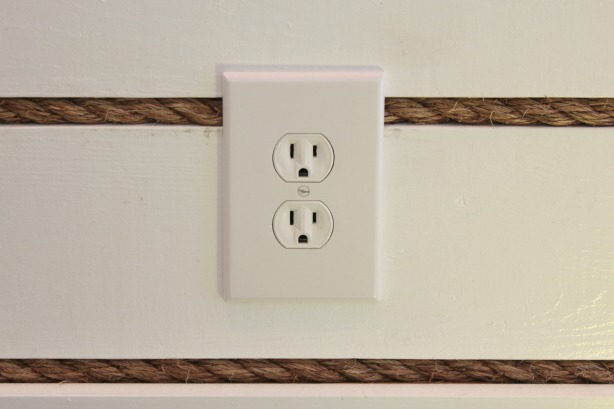
That I haven’t shown you yet. But looks like this close up.

outlet and cover plate

Those are wood slats that are 3/4 inches thick. But we installed the outlet boxes for regular drywall at a 1/2 inch thick depth.

So what’s a girl to do?

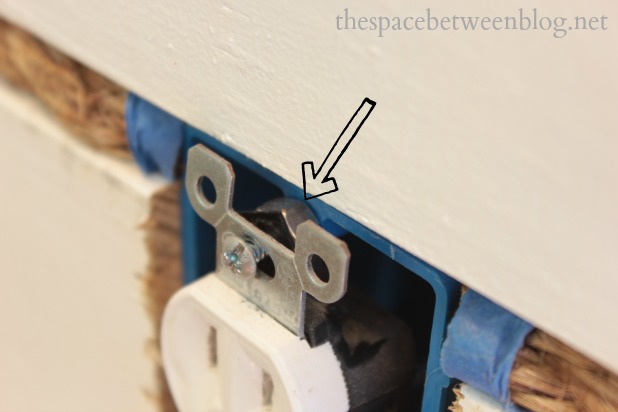
screw outlet in with a nut adding depth

You can’t just not screw in your outlets all the way or they will always move back and forth when you plug and unplug things. Trust me. 🙂

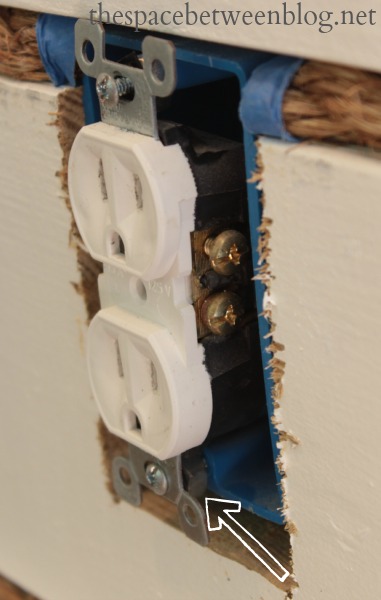
screw outlet in with a nut adding depth

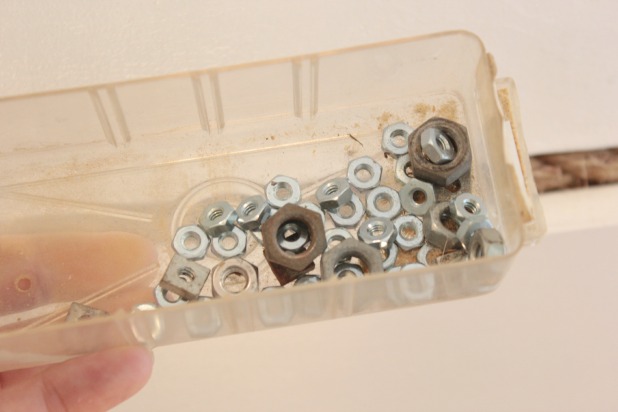
But, if you screw in a nut behind the outlet that will give you the added depth you need to screw it in tight but also keep the outlet set out a bit to sit flush with your cover.

Update:  I received a comment that this method isn’t to code, I haven’t checked my local code to verify but here is an affiliate link to a product called an outlet box extender that is definitely to code in all areas.

I just keep mismatched nuts in a little organizer in our shed. You can even double them up if you need to.

Update: I am reading this post, now published, drinking my first cup of coffee and thinking, man, I didn’t even plan that little nut pun. Geesh. 🙂

screw outlet in with a nut adding depth

Easy peasy, right?!?!

screw outlet in with a nut adding depth

Get caught up on the entire 31 day series here.

31 things you need to know

  • « Previous Page
  • 1
  • …
  • 56
  • 57
  • 58
  • 59
  • 60
  • …
  • 169
  • Next Page »

Copyright © 2025 · custom theme design by this bold girl · Built on the Genesis Framework 

  • pinterest
  • facebook
  • instagram
  • rss