Let’s just start right out with this since it makes me laugh out loud.
Let’s just say that my first afternoon attempt at using a paint sprayer didn’t go as planned. It was actually kind of another one of those “what I learned about my husband while trying to learn how to use a paint sprayer” days. Like the whole closet door making experience.
Just getting started in trying to get this thing figured out was just kind of intimidating to us. It has been looming over our head in our shed for months and we were finally to the stage where we’d picked out a color we wanted to try and it was time to give it a go.
So Joel took a nap. 
Yeah, he wanted no part of what was sure to be a paint sprayer fiasco.
Smart, smart man. And lesson learned, this guy really does hate painting as much as he claims.
But, want to see something cool?
I figured it out! Well, that is not entirely true, but more details on that in a minute.
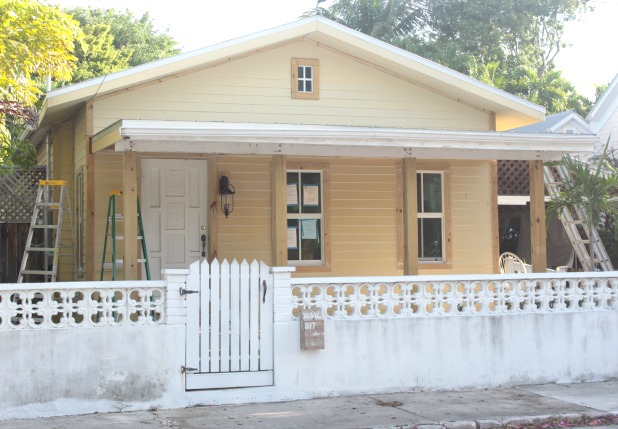
I actually instagrammed this picture as it was happening and many thought this was white paint. It’s actually Dewey House Grey, it is a custom color that matches a hotel in town. We liked it and knew we would have to get our color approved by the historic approval committee so we thought an easy way to go would be to pick a color that had already been approved. We figured there was no sense getting our hearts set on a color just to have it denied.
And see how it’s so much lighter on the right, in the sun, than on the left, in the dark. We’re realizing the “50 shades of gray always a different shade of gray” is kind of fun.
But let’s skip back to the beginning of this process, which is actually the day before any paint ended up on any walls, otherwise known as the day I didn’t know how to use a paint sprayer.
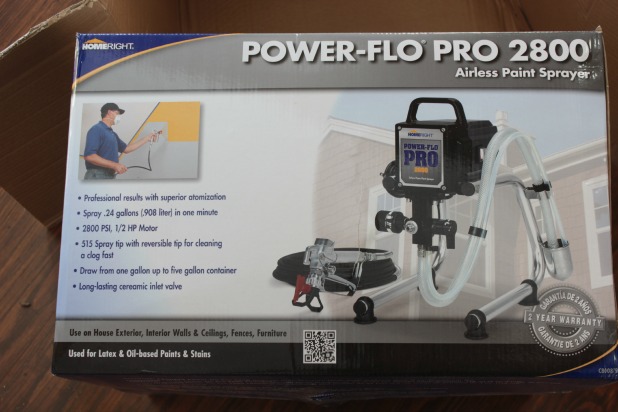
HomeRight sent me this paint sprayer (aff link) way back in the fall of last year. They are a company I met at the blog conference and when I explained our future exterior painting plans they said they had the perfect tool for me.
I tried to explain that I already had the perfect tool …
I kid.
Anyway, we’ve been whittling away at exterior projects in preparation for just whipping the paint sprayer out and tackling the whole project at one time. I’ve heard horror stories about the amount of time it takes to clean paint sprayers and just didn’t want to go through all that numerous times.
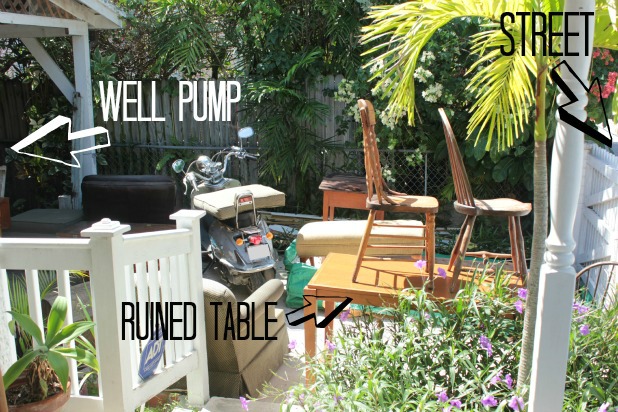
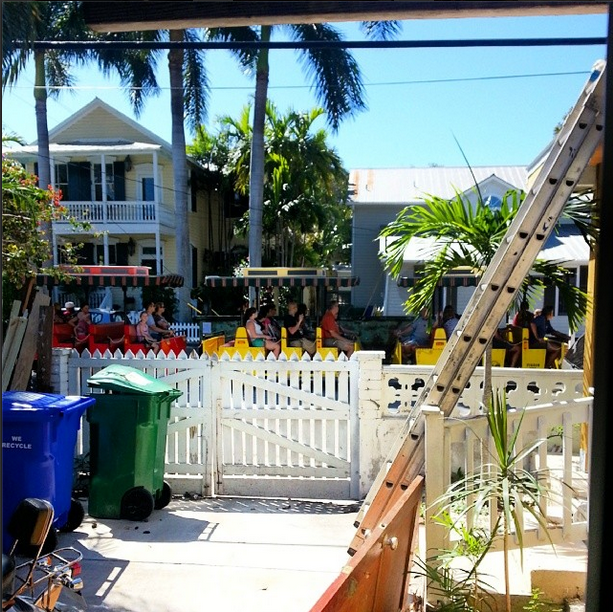
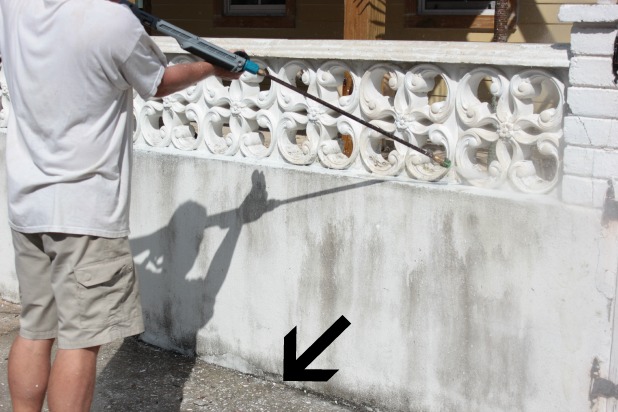
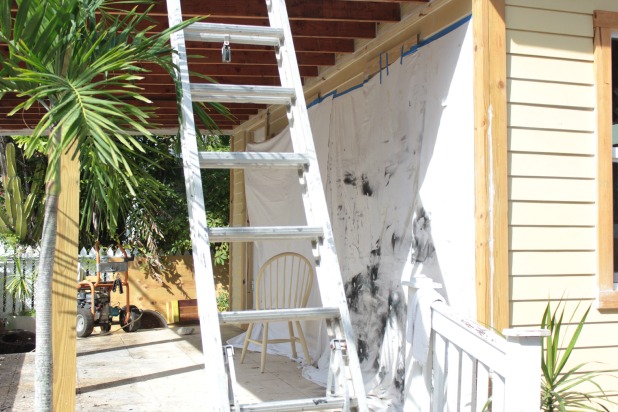
But, such is our DIY world, if we waited for the entire house to be ready we would never get to it. We still have to power wash the whole house, scrape off any old chippy paint, re-caulk any cracking areas, prime any spots with bare wood or that we’ve had to patch. Oh, and we do still stash some “stuff” outside, luckily not as much as in this picture, but enough to get in the way of a paint spraying project.
So once we had our color picked I was itching to give it a go. As in itching with hives at the thought of trying the sprayer, but determined to just do it already to get over that hump of fear.
For weeks, many a conversation involved me asking Joel when would be a good time for “us” to try the paint sprayer and many a response from him saying “you” should just try it and let me know if you have any trouble.
So nothing happened. For weeks.
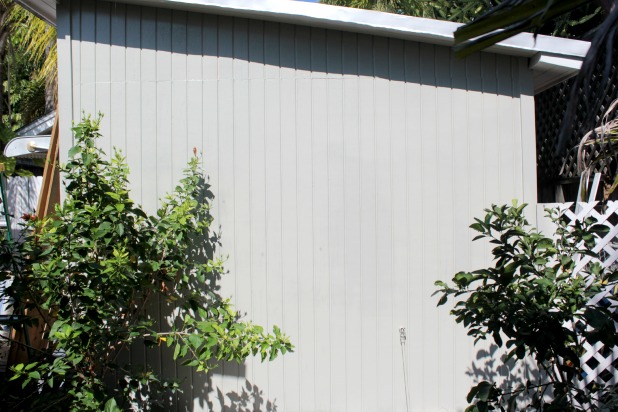
And then I just decided that I would whip it out and follow the instructions impeccably and test it out on the shed in the back yard.
This was the perfect low-pressure spot to start for a few reasons:
- you can only see it if you’re in our back yard, if I messed up royally ourselves and our house guests would be the only ones to know
- it was a nice-sized wall so I could practice my nice sweeping motions, stopping and starting with the sprayer pointed toward the wall and using the sprayer while walking for one continuous spray
- we will most likely need to replace this wall of the shed anyway due to some rot, it’s a project at the bottom of the to-do list but worst case scenario we would ruin a rotting wall anyway, no harm no foul
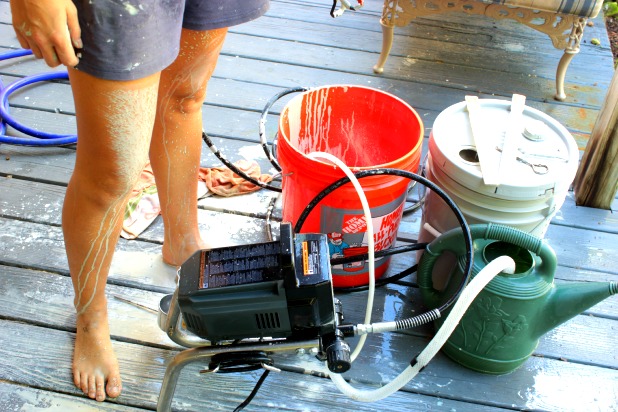
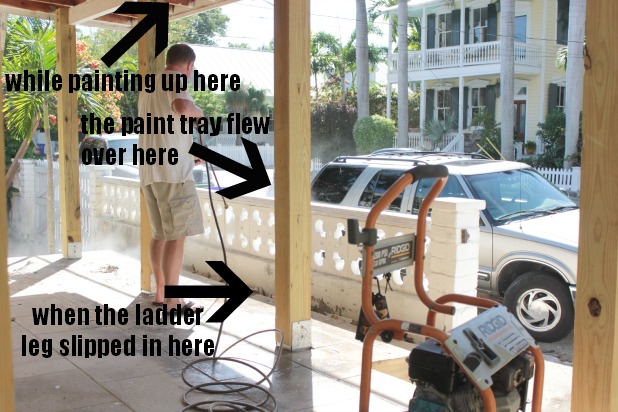
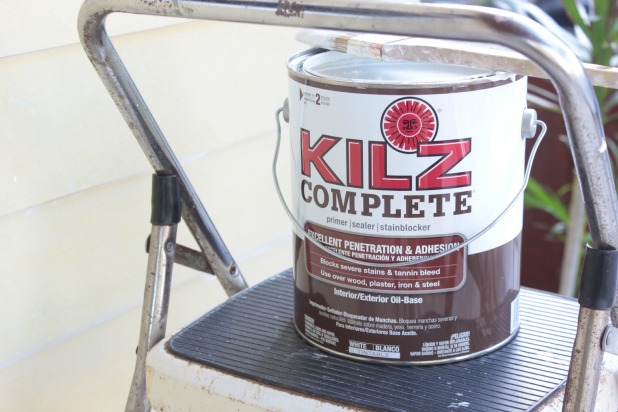
But, as luck would have it, I wouldn’t even get to that point until the next day. Following the nicely detailed instructions included with the paint sprayer I set everything up. One key tip as you get set up is to be sure that everything you use is grounded to prevent shocks, you should use a metal waste bin unlike the one I used.
You’ll actually start with just water so that immediately took a lot of the pressure out of the process. How much damage could I do with water?
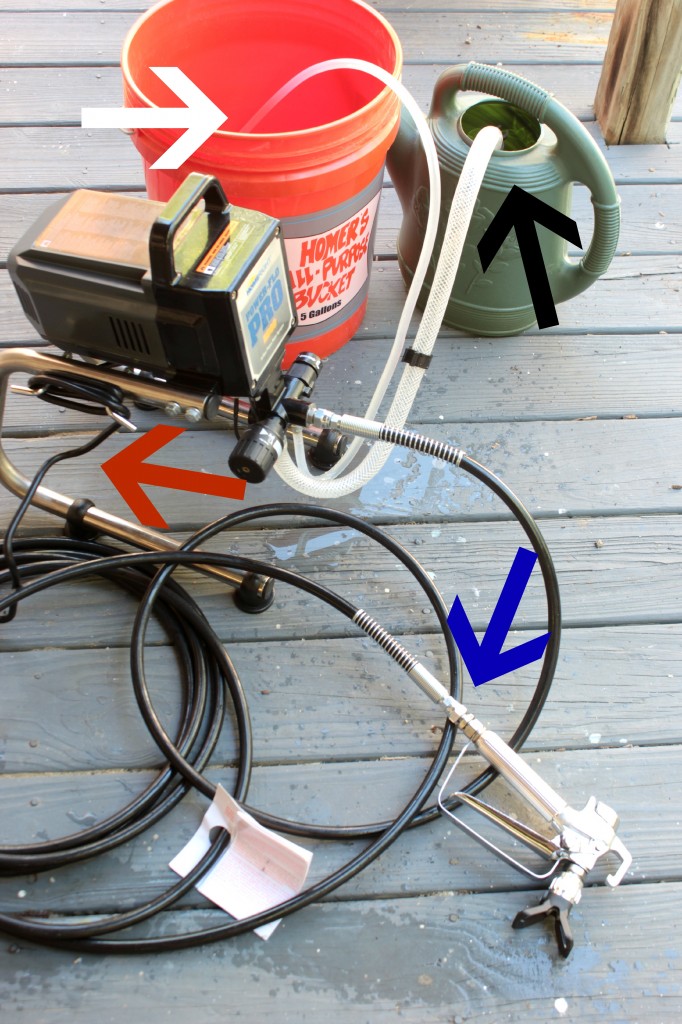
For a little diagram description, the:
black arrow – this will be your paint supply with the suction tube in it, to start it is a garden water can with soapy water, there’s no filling up a separate bin with this paint sprayer … first clue that the clean up process isn’t going to be as tedious either
white arrow – this is a waste bin (should be metal and properly grounded to prevent potential electric shocks) with the return tube in it, when it comes to paint, what comes out of this return tube will indicate what will come out of your spray tip when you adjust to spray mode
red arrow – this is the electric plug-in, I definitely had some second thoughts about the whole water situation (kind of like using a hair dryer in the tub, no?), just be sure you follow the proper grounding instructions provided in the manual
blue arrow – the spray gun and trigger attached to the supply hose, one great feature about this gun is the guard that can be rotated to spray in either a horizontal or vertical pattern, for the shed above it worked best to spray up and down since the grooves in the wall went up and down, but for the house siding it worked better to go side-to-side since the siding runs horizontally
After flushing the system with the soapy water and then playing around with the settings, still with only water, I felt confident ready like it was time to just forge ahead to the paint.
And this happened.
 Womp womp.
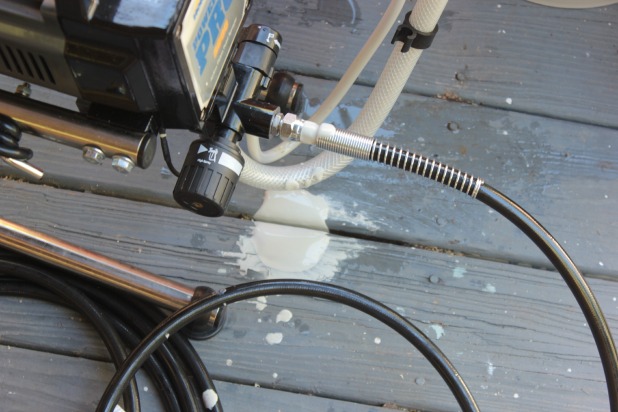
I was feeling a little defeated, and the panic of having paint now run through the whole thing was what led to my bigger paint disaster when I released the trigger on the gun.
With the trigger depressed it was releasing all of the built-up pressure that this type of airless sprayer model uses. But when I took my finger off of the trigger, all of that pressure had nowhere to go except to force paint out all of the little places that things weren’t connected tightly and splatters of paint came out fast and furiously. Be sure to turn the machine off immediately if you notice a leak, don’t let go of the trigger first like I did.
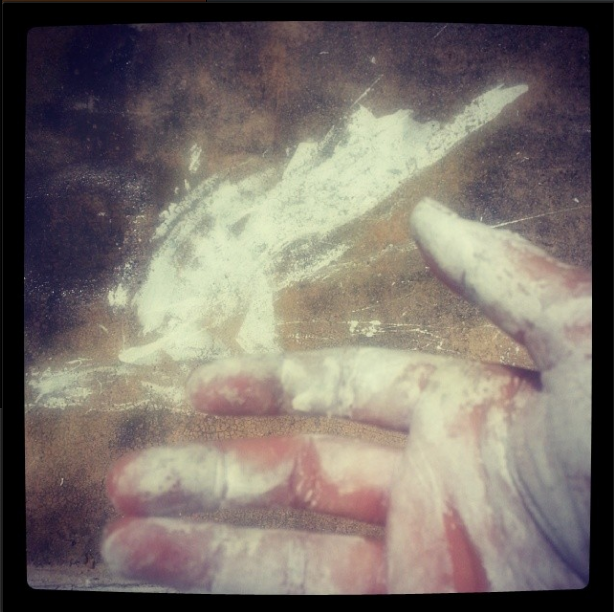
Waving the white flag I headed out to the Home Depot to buy some new rollers so I could just get some paint on the outside of the house already!
And like a guardian angel, Steve, in the paint department saw me, still in my paint splattered clothes and stifled a chuckle enough to ask if he could help with anything. I’m sure thinking some unsavory thoughts about my painting abilities since I was wearing so much of it.
After sharing my experience he suggested I talk with the rental department, they might be able to help since they service paint sprayers. I had no idea.
I quickly explained my situation and they offered to take a look at it if I could run home and get it, now only 20 minutes before closing. You guys, not 20 minutes later I had a perfectly functioning paint sprayer.
I just hadn’t tightened everything together enough. #DIYfail
I had taken all of the “don’t over-tighten” warnings in the manual a little too seriously and it turns out that both ends of the hose, one connected to the machine and one connected to the nozzle, just needed to be securely tightened with a wrench.
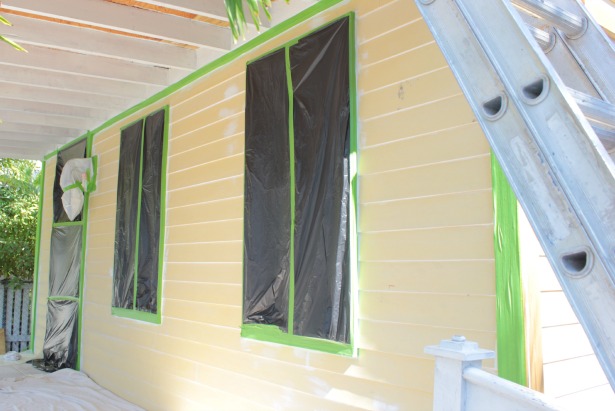
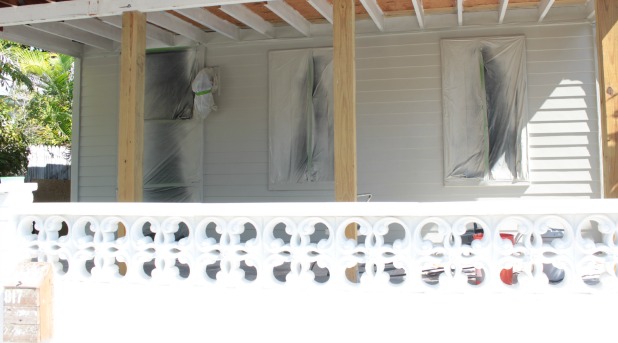
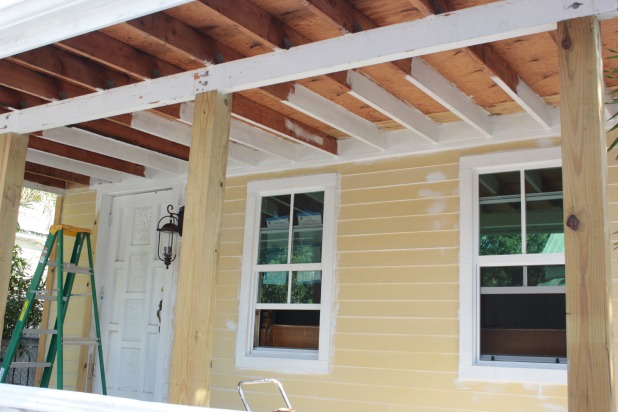
So the next day was spent covering the windows and front door with trash bags and taping off the already primed trim, and we still have some ideas for doing the whole taping thing different as we tackle more sides of the house, so more details on those steps will surely follow as we learn what we think works best. But I will just tell you, this machine is awesome.
And cleaning, all you have to do is remove the guard and paint tip from the nozzle and soak them in water and take the suction tube out of the paint pail and put it back in the water bin and run water through it until it runs clear. It really couldn’t be any easier. Five or so minutes of sitting there holding the trigger while admiring our freshly painted front porch.

The actual use of the sprayer is quite straight forward:
- keep the nozzle about 14 inches from the surface you are painting
- use long flowing motions
- don’t over-spray in any one spot
- I would definitely recommend wearing a face mask, there were a few breezy moments where the spray came right back to me
- and use a drop cloth where necessary, using sheets or plastic to cover shrubs and plants worked well, we’re lucky because we will be relacing our back porch and our front patio so we didn’t have to get really particular with this, if you really need to protect those surfaces I would recommend taping the drop cloth right up close to the wall you are painting so it lays flat and enables you to paint all the way down to the ground
Having the shed as a test wall was the perfect way to get started once I had the machine properly set up.
“Practicing” on the front of the house just didn’t seem like a smart idea. Now if only I had a caulk fairy to come in while we sleep to get the rest of the exterior ready for paint. I mean, while “I” sleep, there’s no doubt the husband isn’t going to do any caulking around here whether he’s sleeping or not.
And, I’m over at Remodelaholic.com today showing how I added a big pop of color in a small way to brighten things up for spring, you can check it out here.

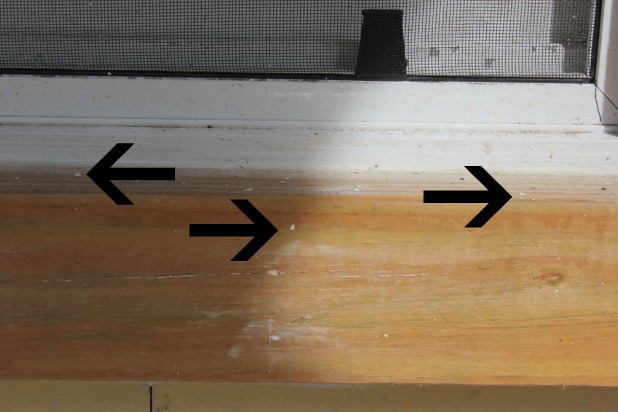
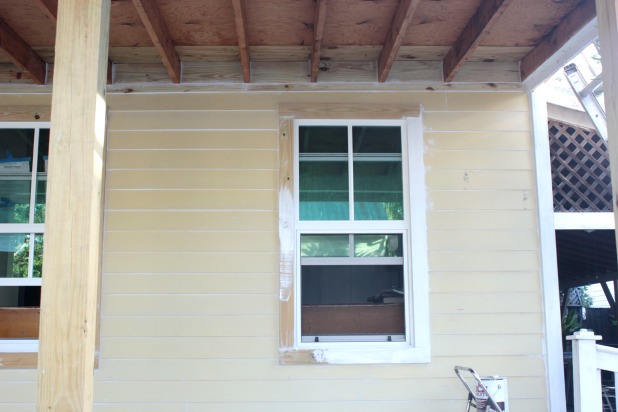
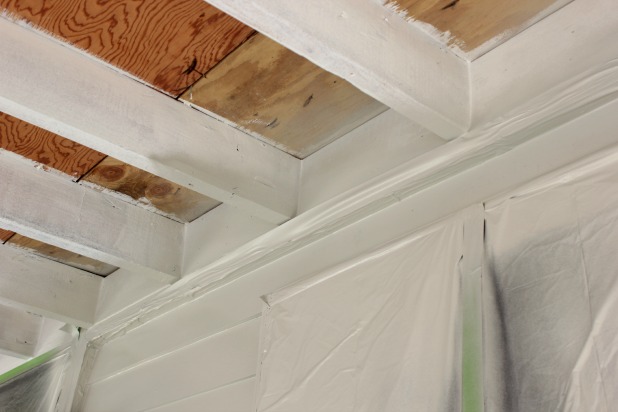
 I don’t know about you, but I always find that the first coat of primer reveals a few more spots to caulk. That white finish is like a magnifying glass on all those little cracks and crevices. And however tedious those extra days spent caulking seem at the time, they are so worth it in the end. With caulking touch-ups complete and an extra coat of primer on all of the dark wood knots we’re ready for some paint.