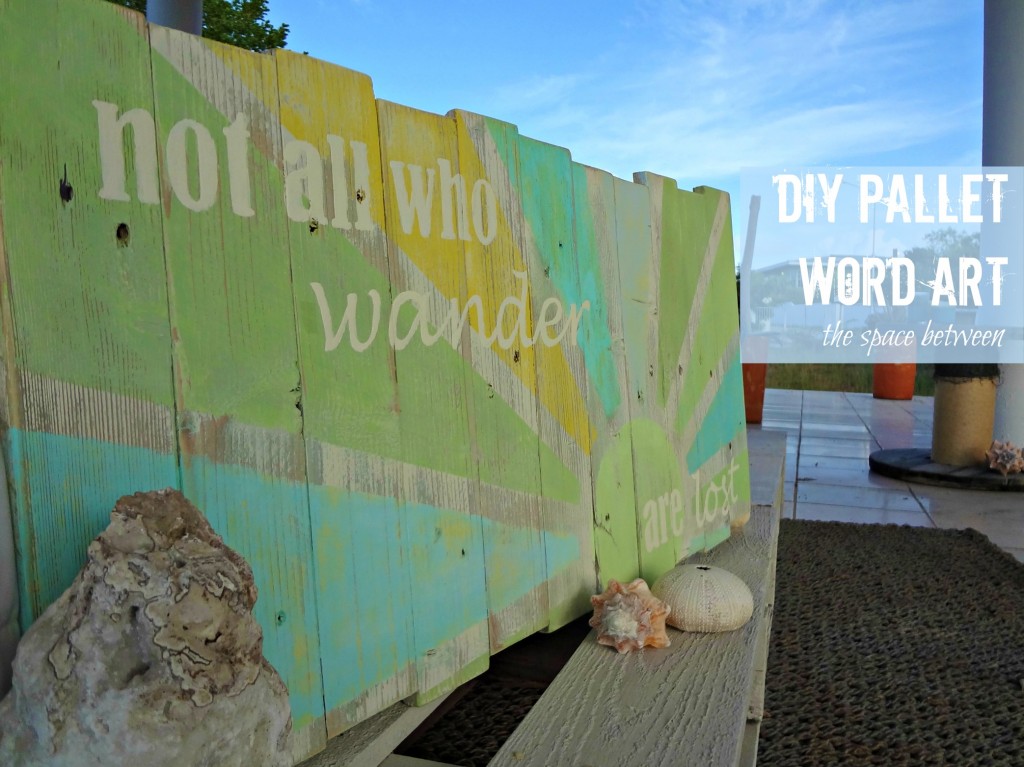
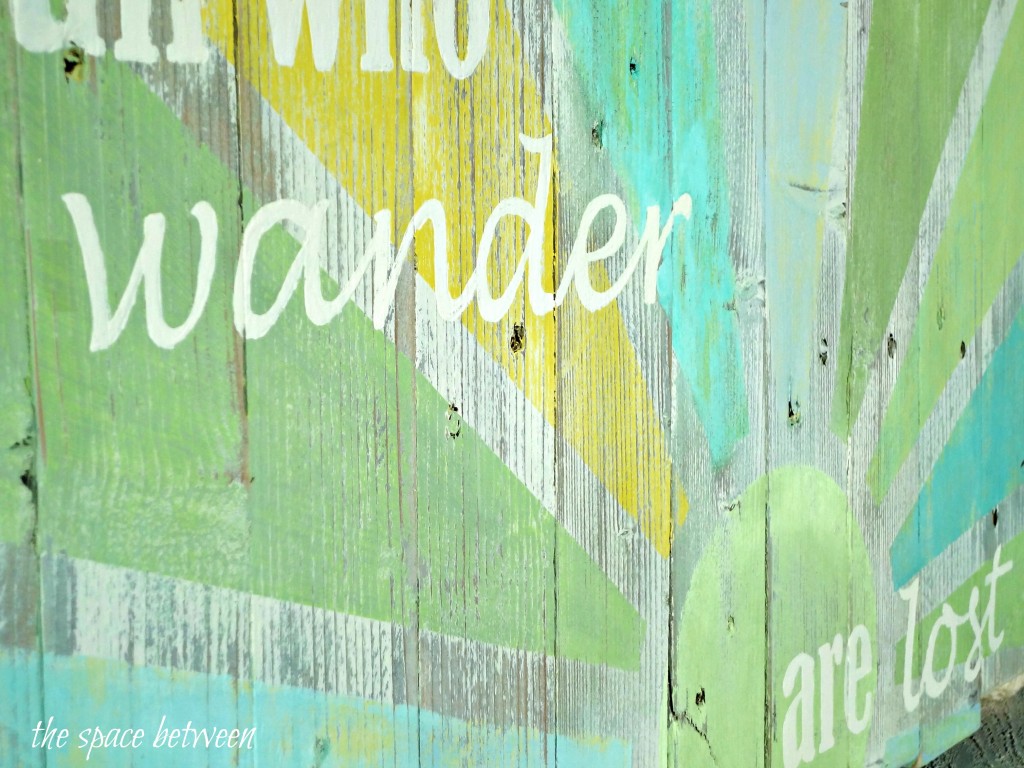
Here are a few easy DIY pallet word art ideas for you.
First I have to start out by saying that the outpouring of love and support that we have received in response to our 10 year old puppy going through surgery (more on that here) has been so overwhelming, in the best of ways. All of the private emails and messages in addition to the comments, and those who have shared your own pet stories … you will never know how much it has helped us through this. Us pet owners and lovers, we’re a special breed. 😉
Pry 4 slats off a pallet and cut each slat in thirds, not worrying about perfect measuring because I knew I was going to stagger them a bit.
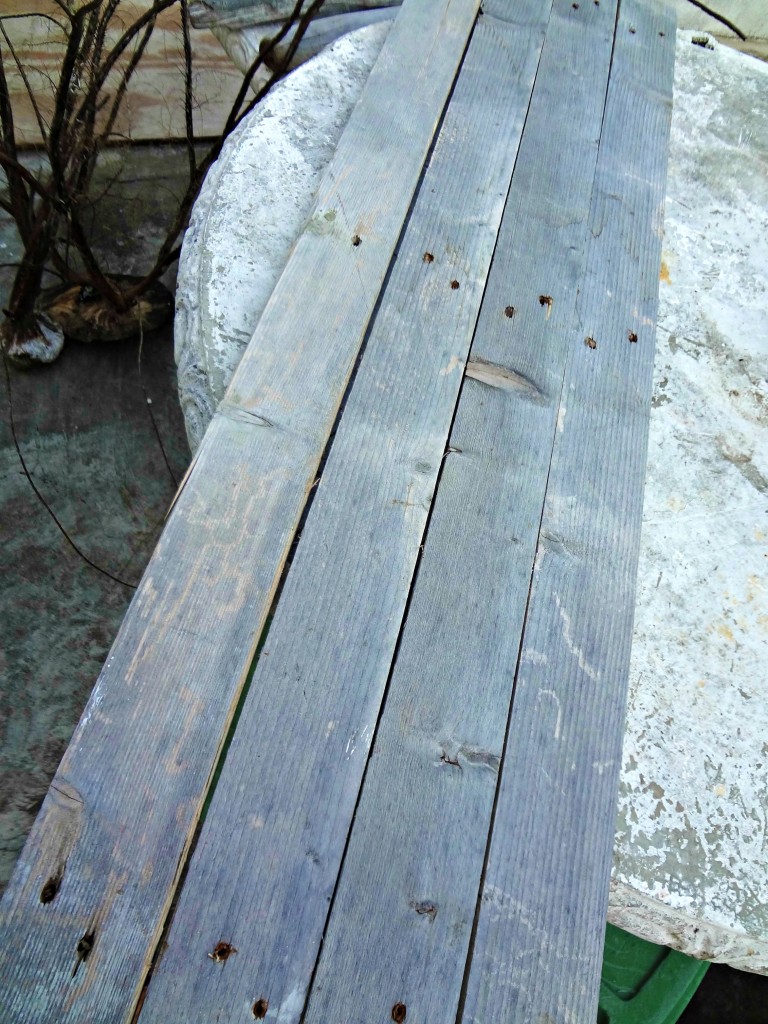
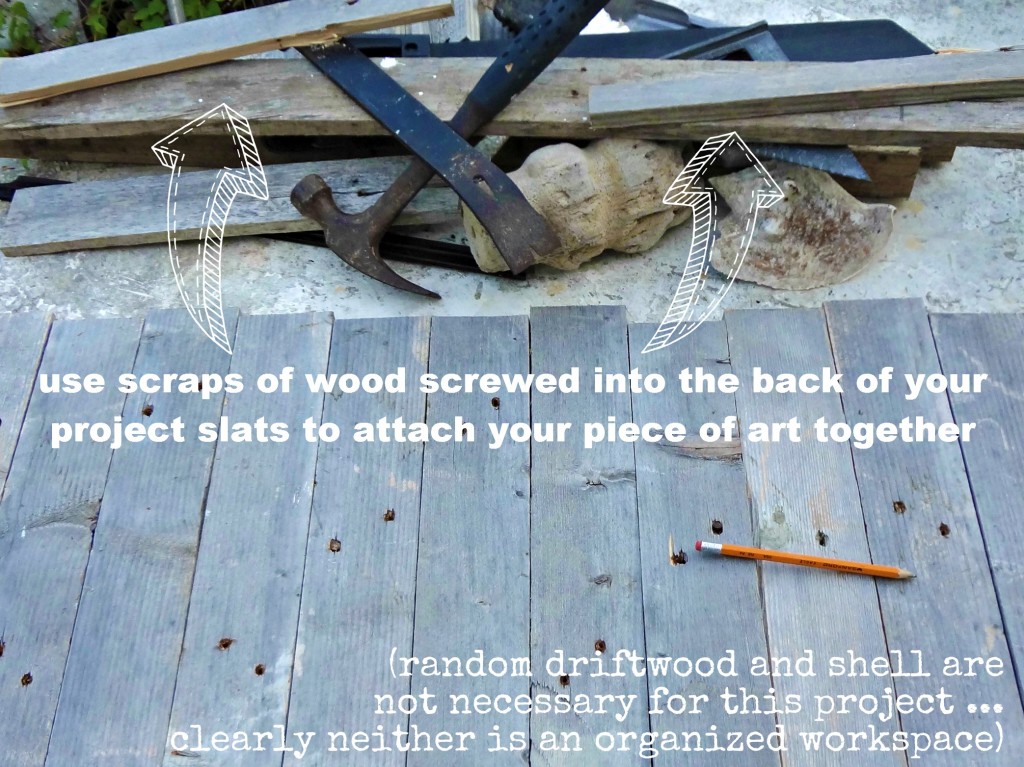
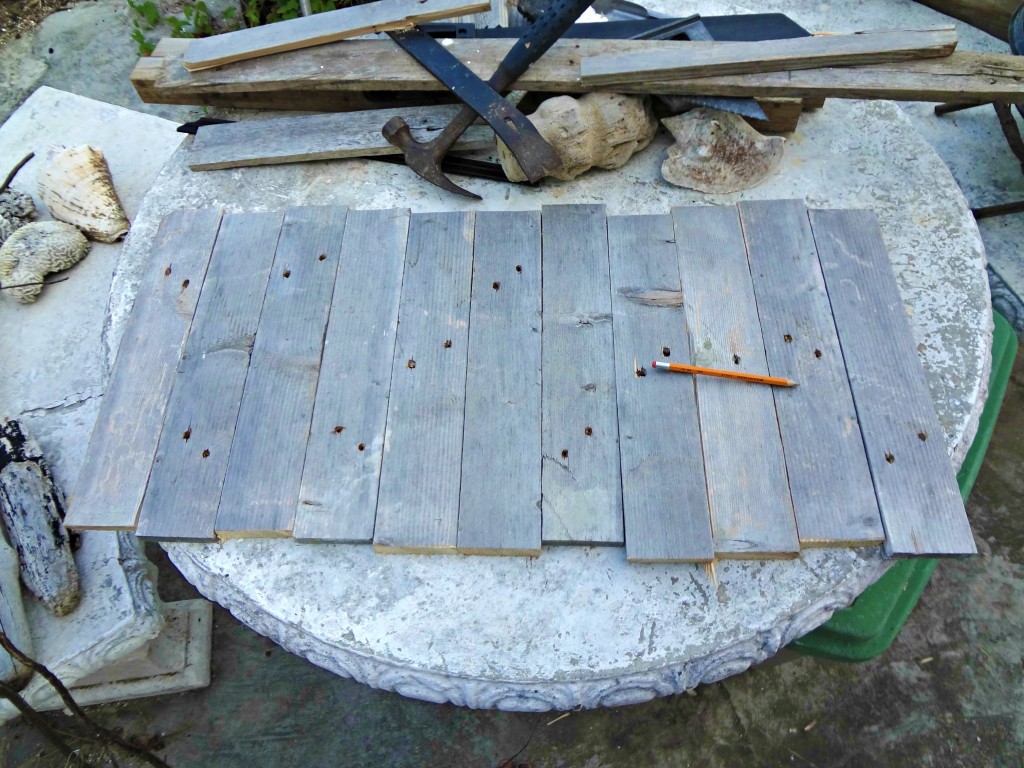 I had one long pallet slat and another piece that had split that worked perfect to attach all of my slats together from the back for this project.
And I finally got to use some of my swag and winnings from the Haven Conference.
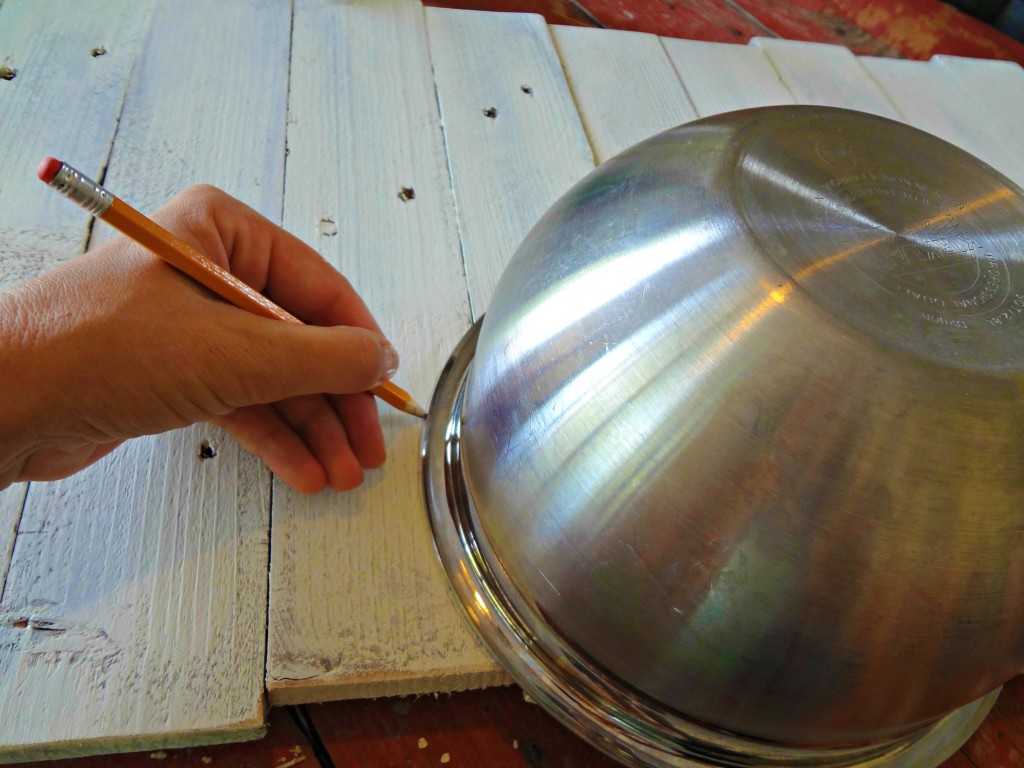
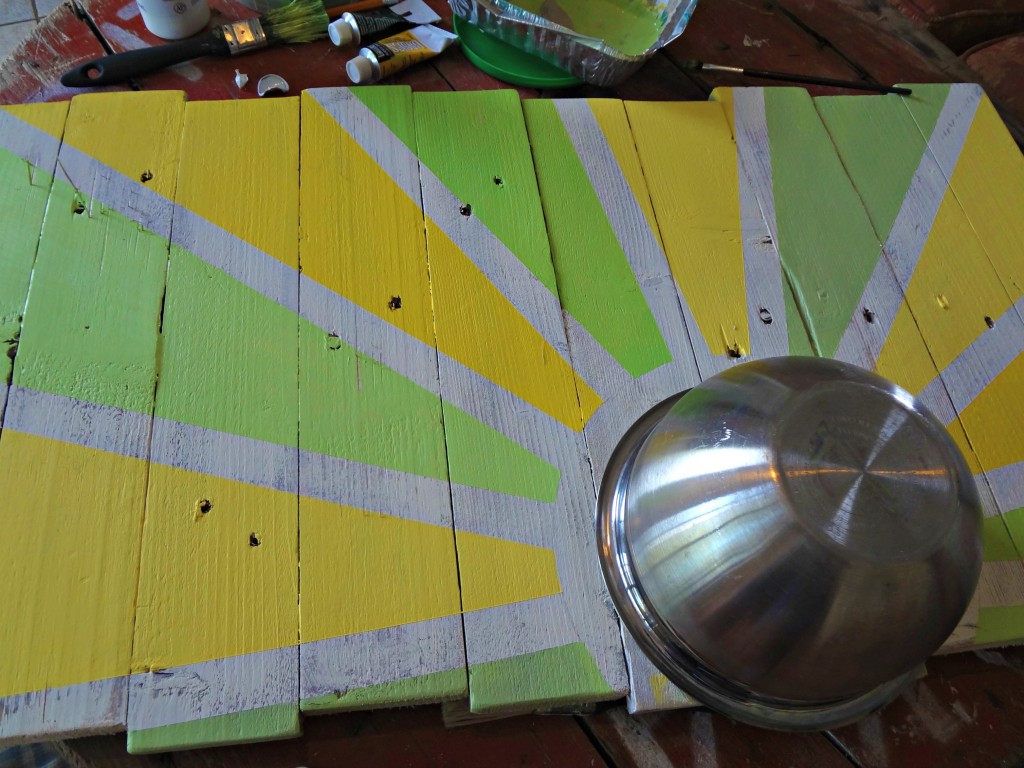
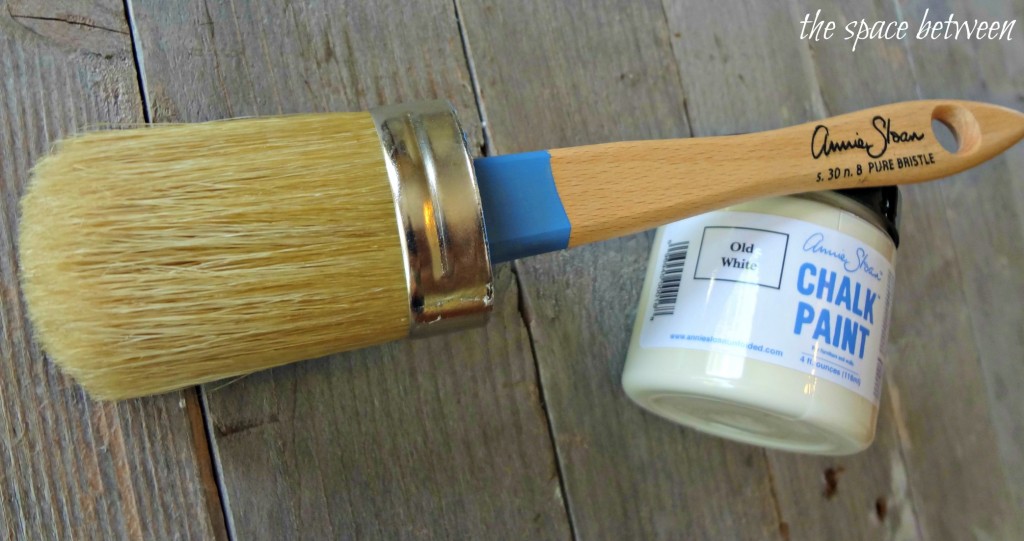 After a quick coat of the Annie Sloan Chalk Paint in Old White and a little sanding, I used a regular ol’ mixing bowl to trace a semi-circle for the center of my sun.
 I then used another swag bag item, the Frog Tape, to identify the lines for the rays of the sun.
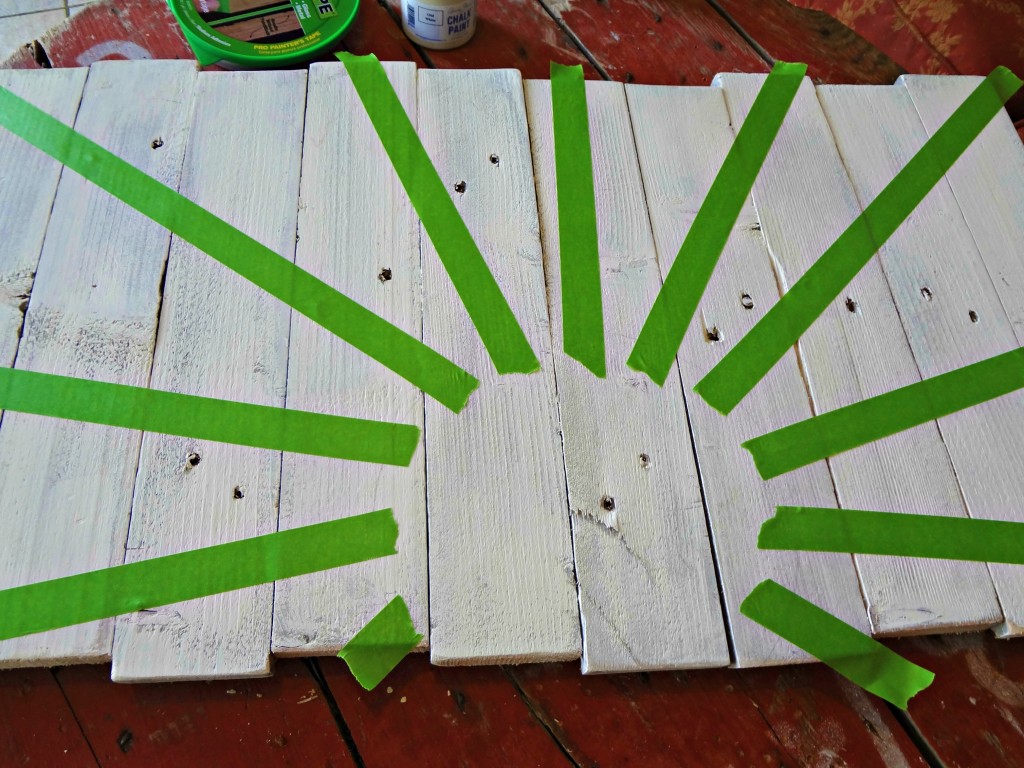 Note: After I took this picture I decided the circle was too close to the center of the piece for my liking so I retraced the circle closer to the right side and adjusted the tape lines accordingly.
The inspiration piece had some great colors in it, but you might remember, I am trying to get rid of the red. 🙂 So I went with more of a green and yellow pallet. More on that in a minute.
Tip!!! Start with your base color and after you’ve painted a couple of rays, lighten it with white. Repeat the process until all of the rays are painted, then you don’t have to worry about mixing too much or little of a color.
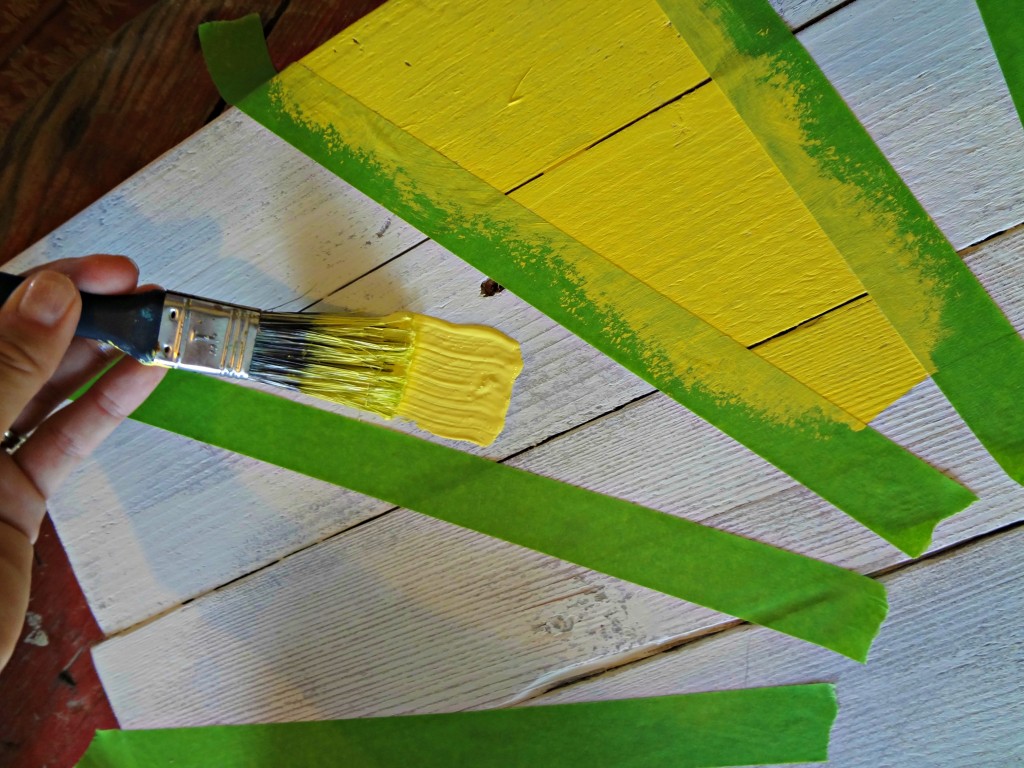 Use a small brush along the traced line for the edge of the circle of the sun.
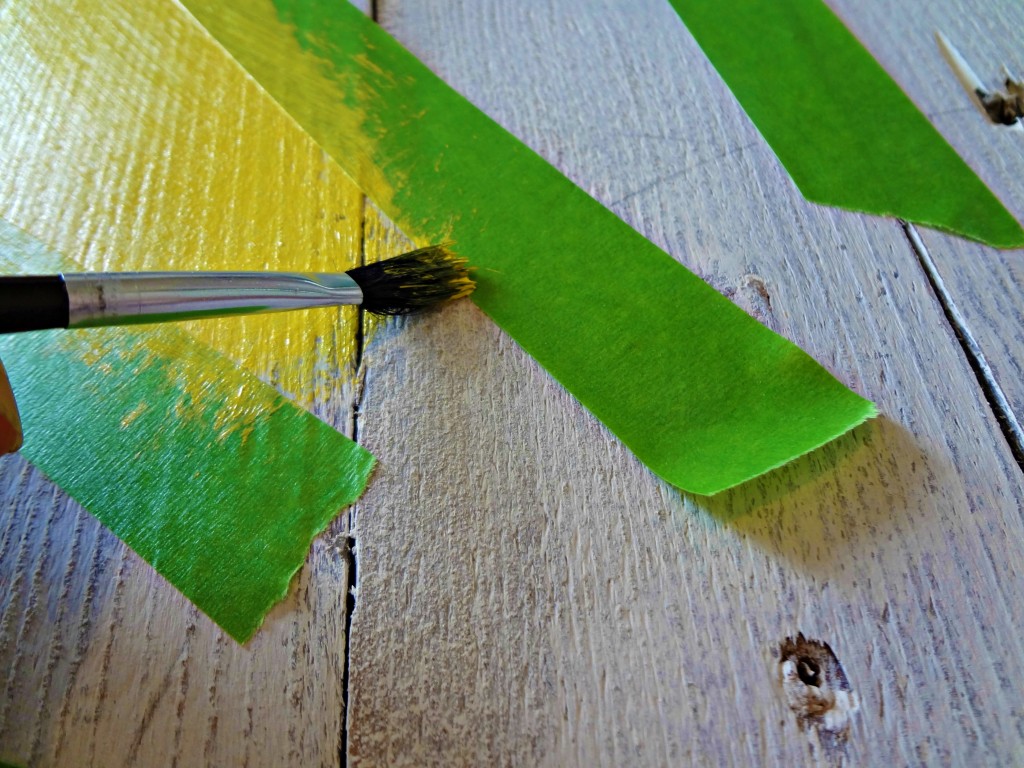 Then just peel off the tape to expose the white painted lines between each ray. And use a smaller bowl to create an inner circle to paint the color of your choice.
 Now seems like a good time to point out that I had completed the entire project and post before deciding the yellow and green was a bit too lemon-limey for me so I updated the piece with shades of aqua, turquoise and blue over the yellow rays. More on that in a minute. 😉
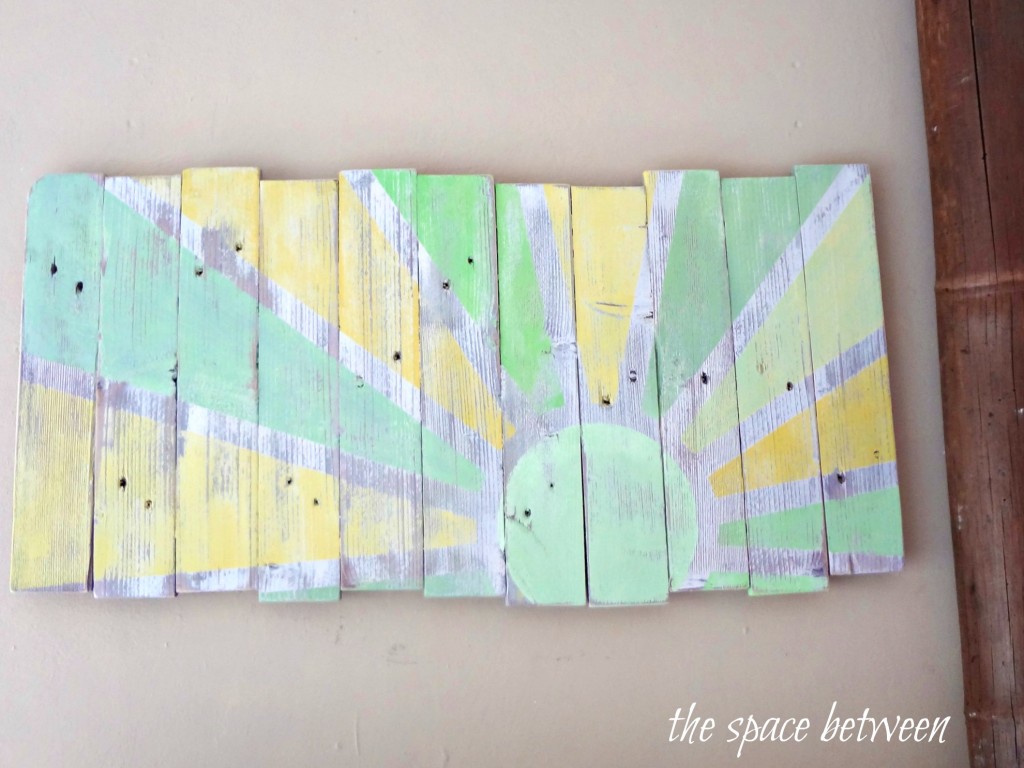
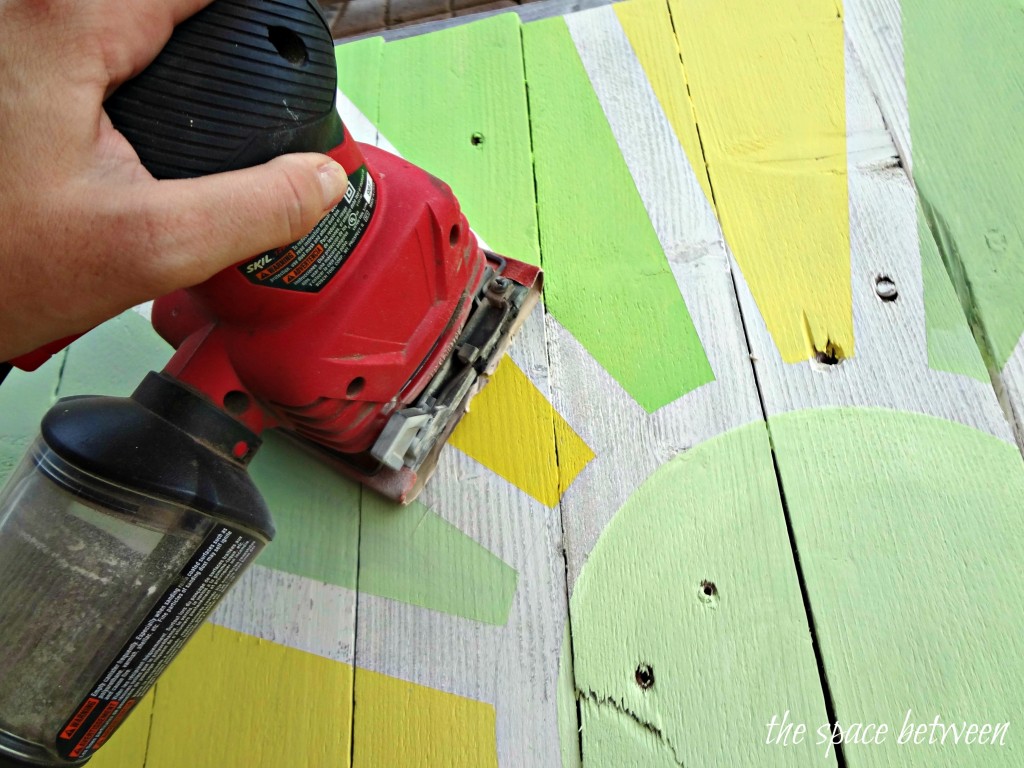 This next pic is still just yellow and green … when I was trying to figure out the hard part … the wording.
I came across a quote by J.R.R. Tolkien that said “Not all those who wander are lost” and I fell in love. 🙂
See, Joel and I, we’re wanderers of sorts. Drifters. Nomads. Maybe even gypsies.
But we are definitely not lost. 🙂
For some reason, the word “those” made the quote a little tongue twistery for me, so I took it out, and ended up with this.
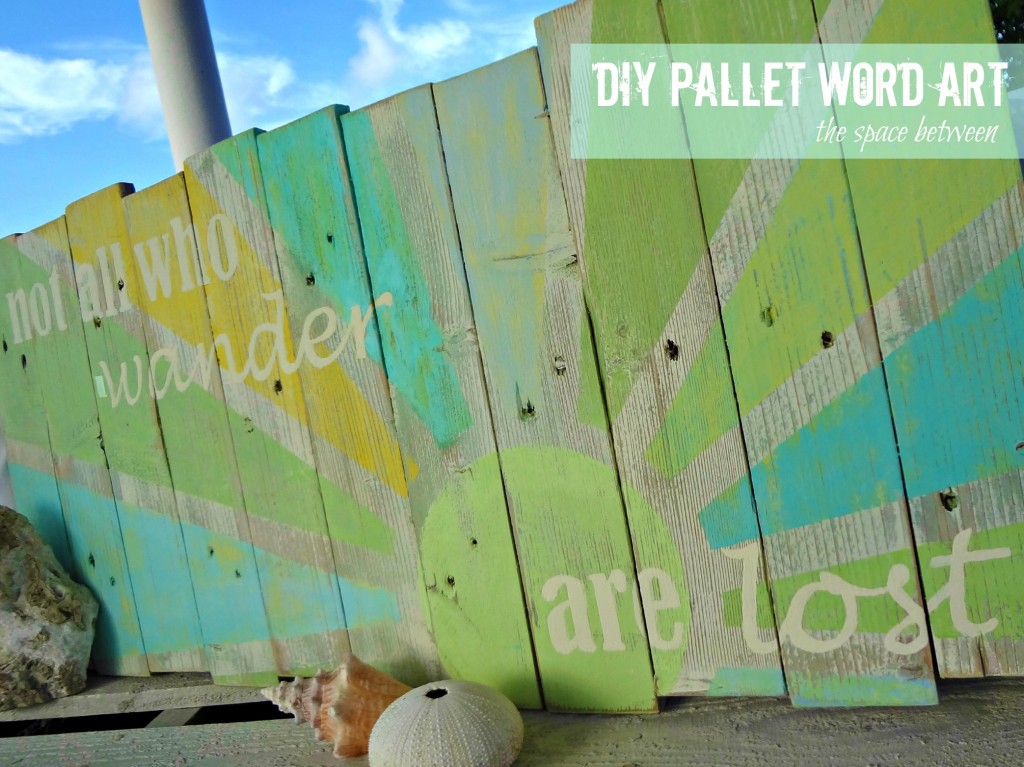
I used the same technique that I used for the number art to create the wording. The fonts came right out of Word and are Bernard MT Condensed and Lucida Handwriting for the word ‘wander’ and ‘lost’.
What do you think? I love her. I love the sentiment. I love the symbolism. I love the message. 🙂
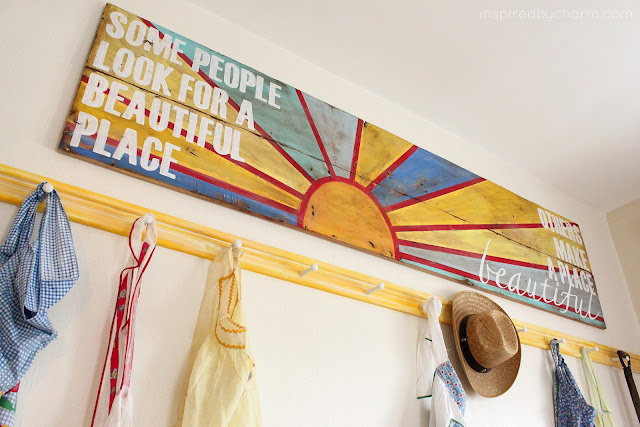
Here’s the inspiration project by Inspired by Charm, pretty beautiful too, I say.
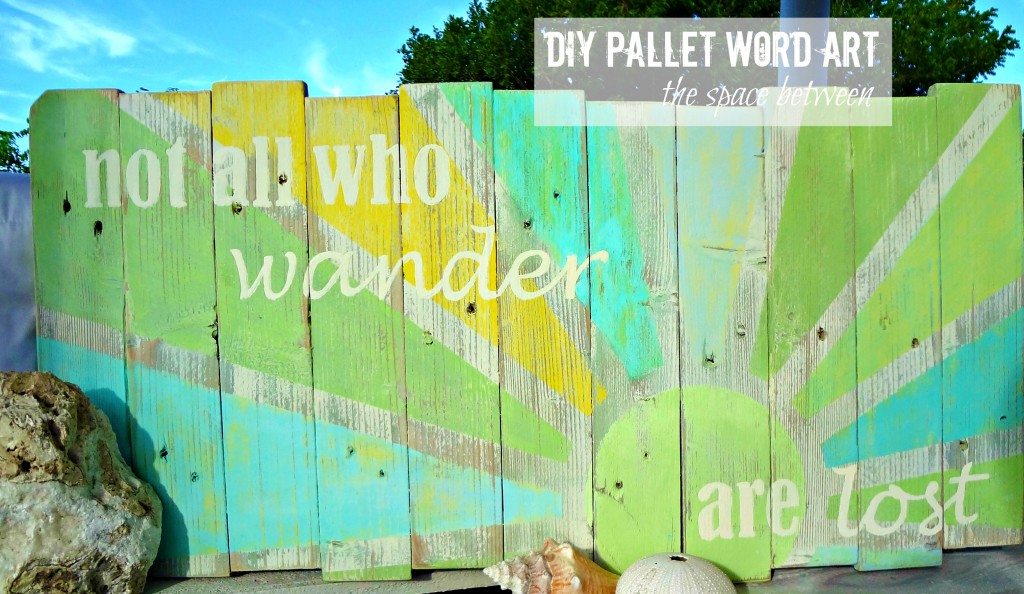
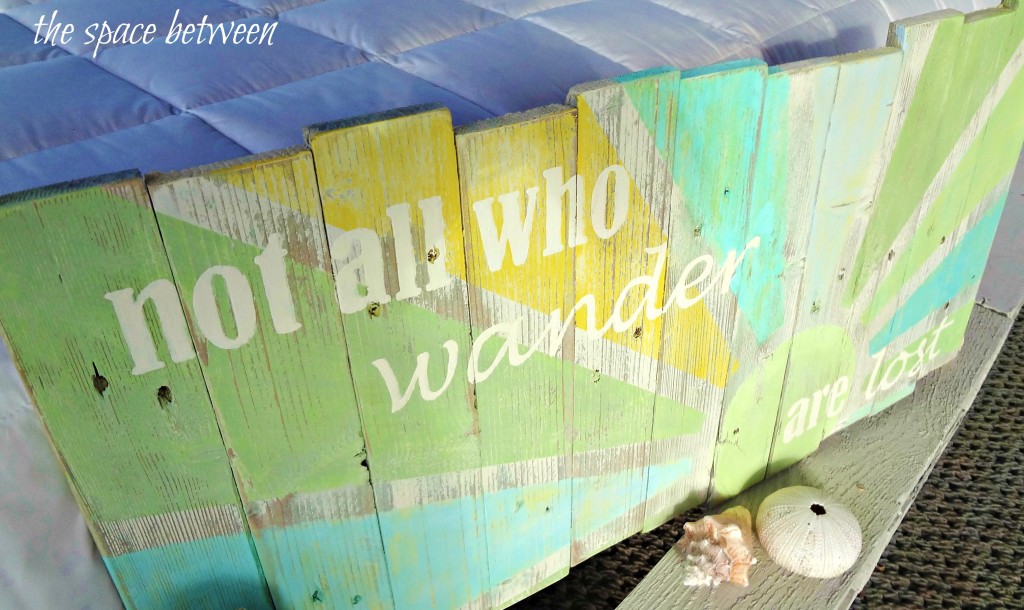
 And here is what I came up with from the inspiration. Version #1. (Oh, yes, I had taken, uploaded and edited all the pics before I decided on the new hues) #efficiencyismymiddlename
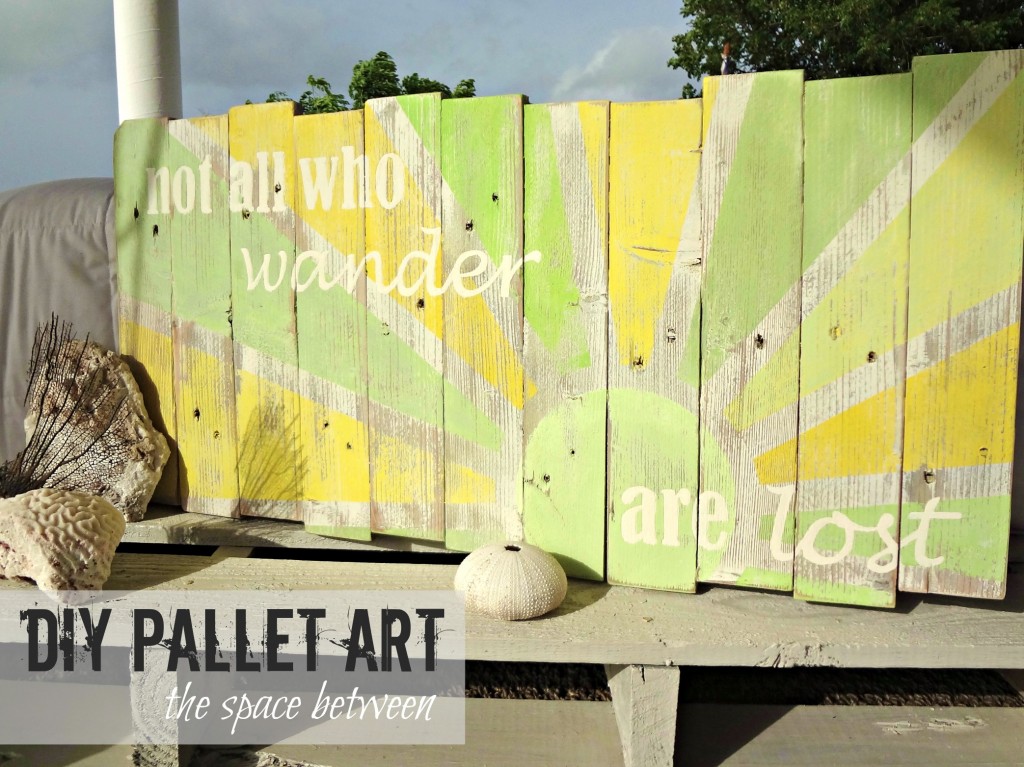
I love how the different shades of yellow peek through the new blues.
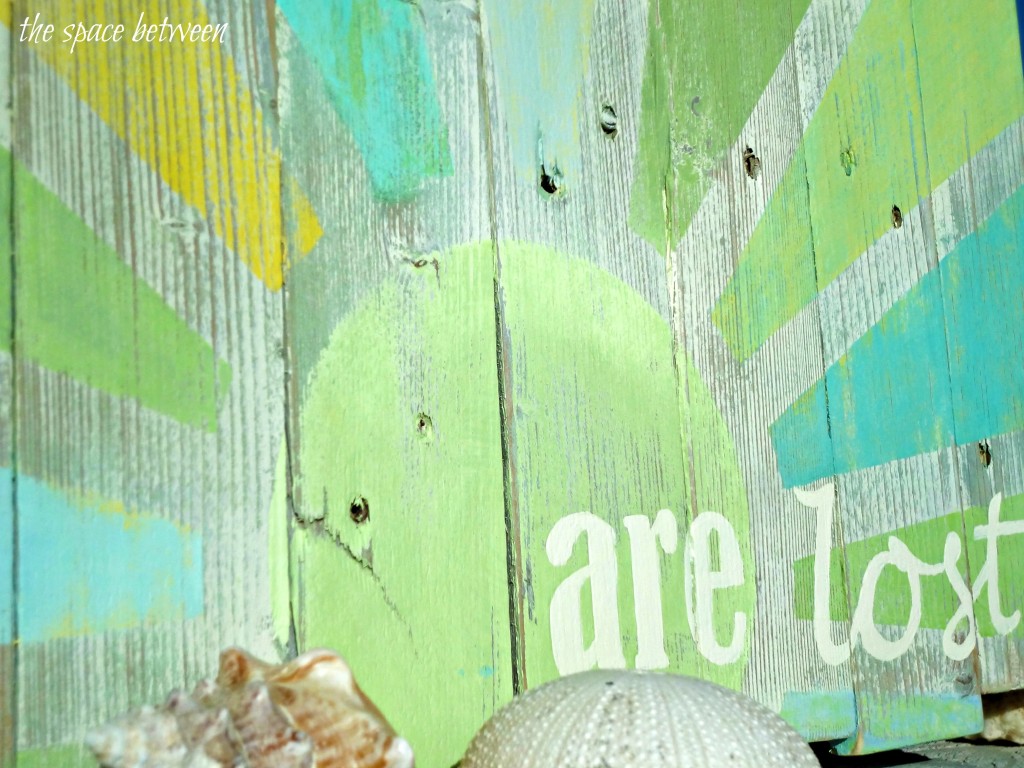
I love that it has many of the same colors from the beach pictures from Friday … don’t you think, Shirley? 🙂
I’m glad that I started by painting the whole piece white, and that my however incidental completely intentional layering of colors creates depth after the sanding.
Soooo, what do you think? Are you a wanderer? Are you lost? Are you consumed by wunderlust? Or, maybe deep-rooted in your current space?
And, if you’d like to see the beach pics from our island home of Curacao they are here, details on how I create the font like lettering is here, and another, entirely different, piece of pallet word art is here. (I also profess my YHL crush in that post.) Wait … what?!?! She says as she looks around confused.
