This post may contain affiliate links which won’t change your price but will share some commission.
Alternate titles in consideration for this post were “that day I was thankful the neighbors weren’t around”, “I guess painting isn’t like riding a bike” and “dude, ladders are hard”.
All I can say is that I really was happy no one saw me fall off my ladder on our front porch the other day. Yep, that totally happened. And my paint tray went flying onto the sidewalk and this happened.
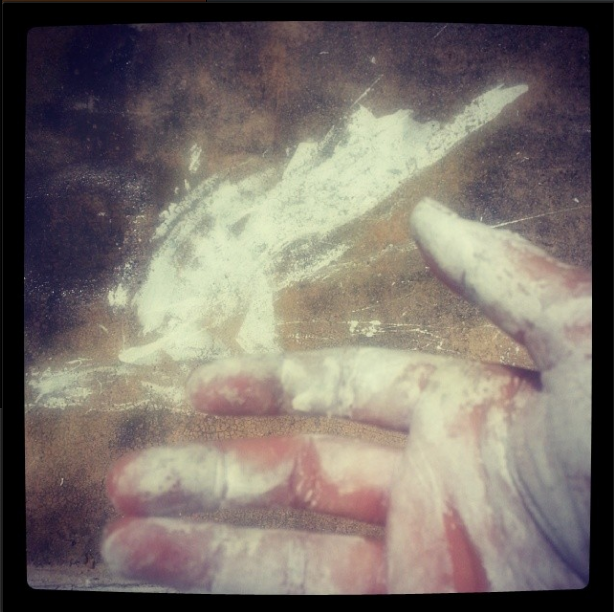
Not my finest moment, but one of those four little ladder legs got unruly and slipped off the porch while I was painting the ceiling joists on the underside of the porch ceiling and although I saved myself, there was really nothing I could do about the sidewalk.
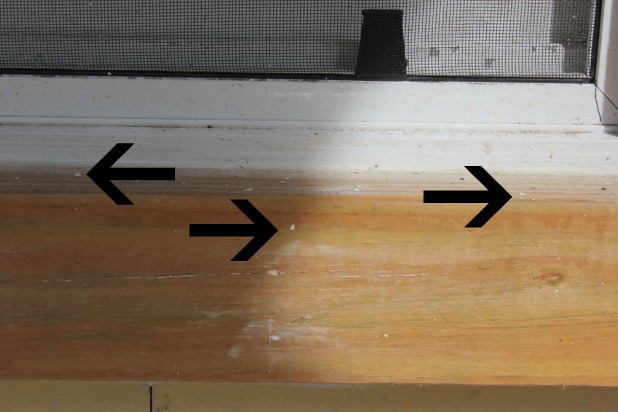
Let’s take a look at a little illustration, please don’t be distracted by the man powerwashing in the photo, that really has nothing to do with anything.
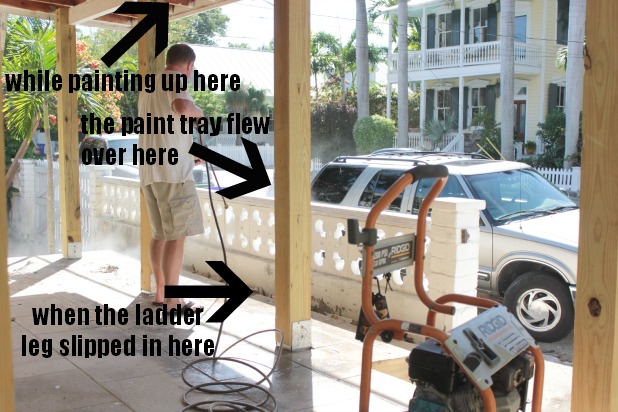
There is about a 5 inch gap between the edge of the patio and the front wall where there used to be weeds flowers. I’m not exactly sure how the ladder leg got in there, but at some point while I was painting over my head I lost track of what was happening below my feet and things got hairy. But just for a second. I wasn’t hurt, well, maybe my ego, but after a quick perusal of the street there was a sigh of relief for no witnesses.
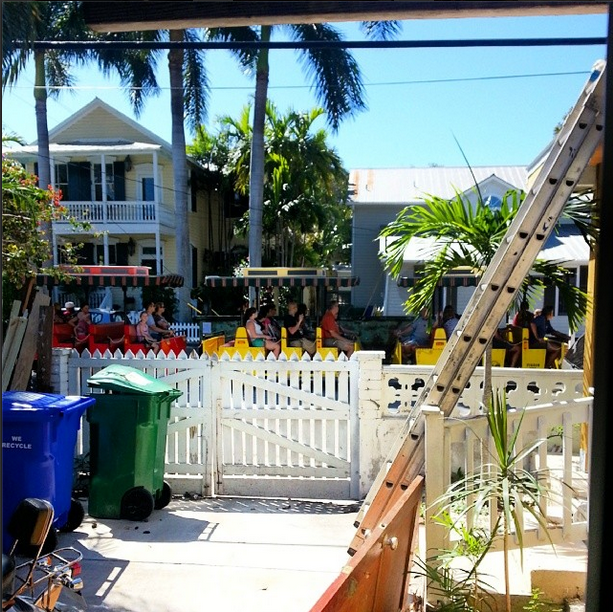
Heck, the tourist train could have been going by with some unsuspecting tourist getting me on their vacation video.
Aaaanyway, it’s never dull around here. 🙂
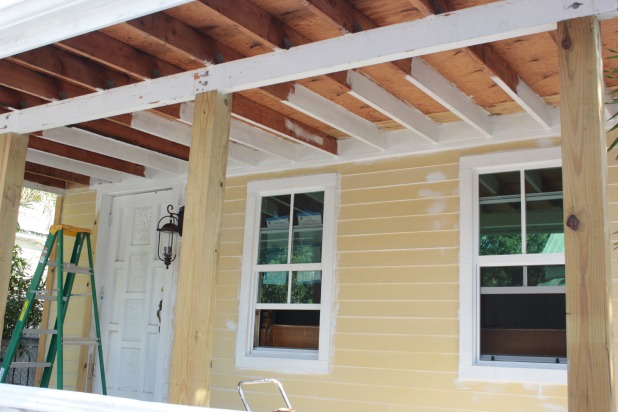
The front porch progress so far has included Joel using the scariest tool he ever used to grind off nails poking through the bottom of our porch roof and then we finished up the trim around our new exterior siding. Then I learned a few things about caulking pressure treated wood and after a little curing time for all of that wood I was able to finish caulking all of the seams under the front porch roof.

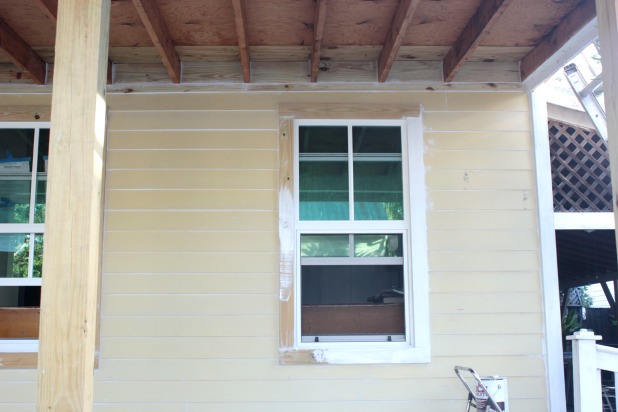
I think this picture is amazing because of how different the siding looks below the front porch roof than it looks above. That is just the shadow of the roof, but once it’s all painted I bet it’s going to look like we used two different paint colors. And do you pick a color based on how it looks in the shade, or the sun? Go darker so the part above the roof looks darker, or will that be too dark for below the porch, which is really what we see most often? Thoughts?
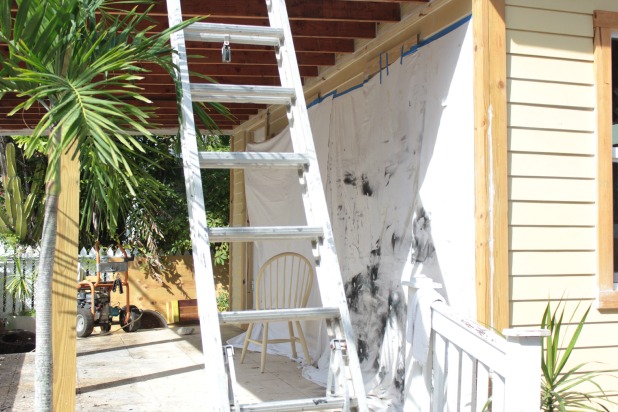
So, with that whole surface area sealed and caulked we borrowed a power washer and throughly cleaned the underside of the porch roof, the new siding and even went ahead and washed the front wall.
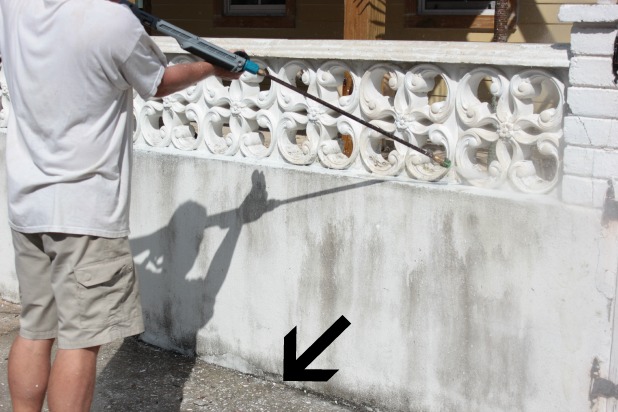
It made quite a mess of paint flakes everywhere, they even crept up onto the new siding and trim.
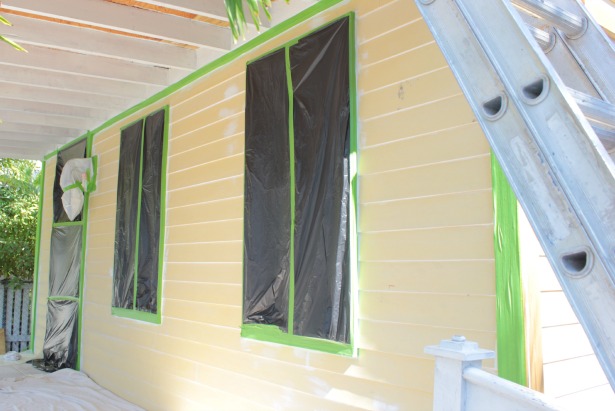
So we did take a quick second to hang up a few sheets just so we didn’t have to wash our new siding after we had just washed it. And here’s photo evidence that I really did only caulk the very front of the house. There is still so much caulk still in my future.
With everything sparkling clean I was excited to get out my paint brushes and see what some fresh white color was going to do to all of the new bare wood.
Isn’t there something magical about that first coat of primer? It really is when it seems to start to come together, the clean slate to start really creating the look you’re going for, you know?
For what primer to use, I reached out the best primer company in the biz and explained that we were in need of primer to cover fresh pressure treated wood that had it’s fair share of knots and we would be painting the trim white. They sent me over some KILZ Complete.
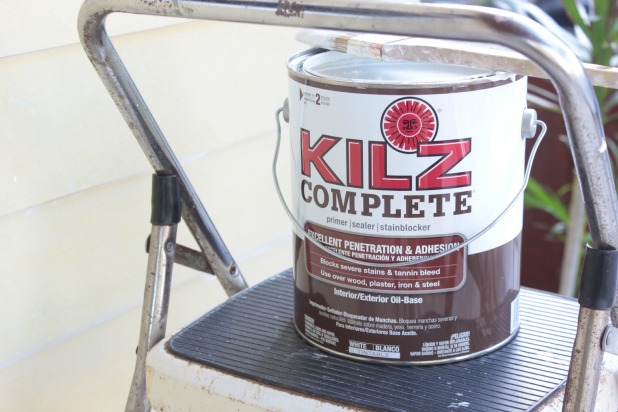
I was not excited about the oil-base part of it, but I’d rather use the right product up front than have to deal with bleed through from the knots in the wood sooner than later. This specific primer is perfect for this application, and actually was easy to work with even though it is oil-base. I was happy for the extra ventilation outside since isn’t a low VOC product. Sometimes, you just gotta do what you gotta do to get the job done.
Update: I learned how to clean oil based paint out of paint brushes with a few things you probably have on hand.
One coat of primer alone got us really excited about the future look of this old space.
 I don’t know about you, but I always find that the first coat of primer reveals a few more spots to caulk. That white finish is like a magnifying glass on all those little cracks and crevices. And however tedious those extra days spent caulking seem at the time, they are so worth it in the end. With caulking touch-ups complete and an extra coat of primer on all of the dark wood knots we’re ready for some paint.
So this happened.
That right there means we’re trying out a paint sprayer. And a color of paint. And there may be many more paint mishaps in my future. If I can manage to paint the sidewalk with just a paint brush and small tray just image what I can accomplish with a paint sprayer. 🙂
We are so excited about the transformation our porch is making. It doesn’t hurt that all of our neighbors have made the effort to stop by to say “Hey thanks neighbors, I guess you can stay in the hood.”
But what say you? Do you have advice on picking exterior colors for the house? Ever used a paint sprayer? Think oil-base primer is worth the VOCs when needed?

cassie says
oops! glad you are safe! it is looking so good- your neighbors must be thrilled with the progress!
Karah says
thanks cassie, it’s amazing how many people actually take the time to comment about the changes
Jaye says
It’s looking SO good Karah! It’s been so much fun following you along on this reno!
Karah says
thank you so much Jaye! Hope you’ve been well!!
Susan Tofteland says
I am so excited to see an update on The House! Glad to see you are working on the outside! (and I’m not even your neighbor!) after 40 years in Minnesota (besides being glad we are in Arizona now, after their especially cold winter) I can only say it really pays to use great quality products, prep well
Karah says
I agree about the prep and good quality products, I feel like the prep steps take forever but are so worth it in the end.
Ally says
Wow, hard to believe that a difference it will be, even with just the primer, and yes unfortunately a contact VOC high is necessary for the exterior. Good thing it’s outside! Fans are your friend!
Kelly @ Eclectically Vintage says
I’m glad no small animals were harmed during your mishap! Bring on the VOC’s – I’m sure you can afford to lose a few more brain cells!!
Kelly
txvoodoo says
It’s really awesome to see how it’s all coming together! Someday when I get to go to the Keys again, I’m gonna take the tourist trolley and take pics. 😀
Ann says
I have built 2 big houses here in Indiana. Currently living in a very old house now. When we lived in the 2nd house, I had an interior decorator look at my vaulted ceilings & walls in the great room. She said the shadows were enough that we shouldn’t paint all the walls one color. She suggested lightening up the color on the walls that were in shadow, so that when you stood back and looked at it, the room would appear the same one color. You might be able to get a decorator at Sherwin Williams or someplace like that to give you advice on it.
Karah says
That’s such an interesting idea to paint based on shadows, I might pose the question at Sherwin Williams, thanks so much for the tip!
lisa says
I wish I could go completely VOC free but there are just some products that need toxic ingredients to work properly. I try to be really careful, mask up and no small flames! Thanks for your project transparency. I recently signed up on your site and enjoy reading your updates.
Karah says
Hi! I’m so happy you’re here, thanks for the kind words about the blog. And I’m in exactly the same boat, would love all-natural non-toxic everything, but it just isn’t practical. One day maybe.
tere lopez says
it is looking great, but if you can eliminate those decorative blocks from your front fence. my aunt has the same and the will take a lot of time to maintain clean and paint. also if you notice, when it rains, it will stain the lower part of the fence with the dust and dirt. we have been cleaning those for more than 40 years!, we know . . .
Karah says
oh, I go back and forth on those blocks, love all of your first hand knowledge, might have to run it by the historic review board, thank you so much for taking the time to visit and comment!