This post may contain affiliate links which won’t change your price but will share some commission.
It’s that time again. The first Monday of the month where we share an easy peasy, super simple, somewhat silly to post about project.
And today, my friends, we are going step-by-step into my rooftop pallet bed making process.

But honestly, because that process is soooo simple. We’re going to start with the jute rug.
 We’ve had this rug for about 8 years and she has long ago reached her peak and is waaaayyyyy past her prime. I must warn you, this before photo is not for the weary.
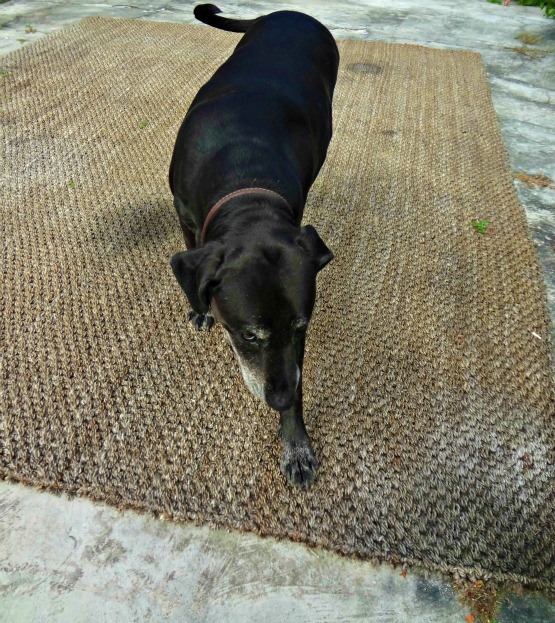
(Yes, I had left the rug outside to self clean in the rain and intense sun … long enough for a weed to grow through it.)
Let’s digress here for a minute so I can give my one and only biggest tip of all times. This will hopefully help everyone who has been kind enough to express concern about nature getting the best of my rooftop bedroom.
Biggest Tip Evah!!! Don’t decorate outside with anything you are not willing to lose in a battle with mother nature.
Simple. Right?!?!
Ok, back to our 8 year old, has seen better days, experienced an unfortunate series of events involving our dogs and vomit, jute rug. This cat is clearly on her 10th life. But, with a little spray primer, she’s the perfect base for our new rooftop pallet bed.
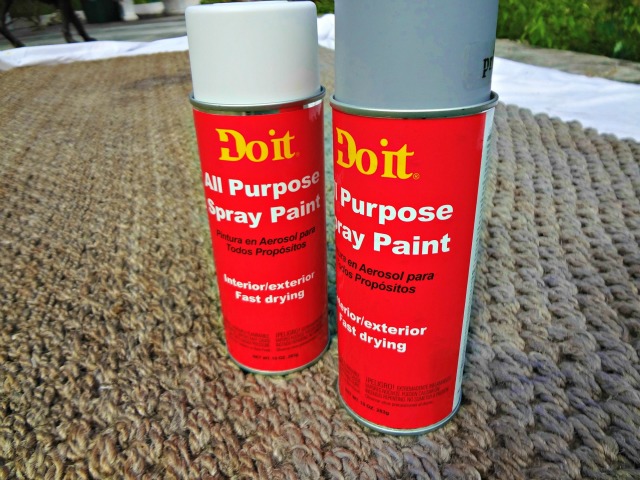
That’s right, I just used spray primer, not even real paint. I knew it was cheaper than my spray paint options figured that’d give the best coverage on the discolored spots I created in an attempt to clean previously mentioned dog vomit. And, it worked. Score!
It actually took about 4 cans, more than I had expected for some reason. And, I only went around the perimeter. Why paint what’s just going to get covered anyway, right?!?
For some frame of reference, the rug is 8′ x 10′ and I painted about 20 inches on 3 sides. Ummmm, sooooo, you do the math. 🙂
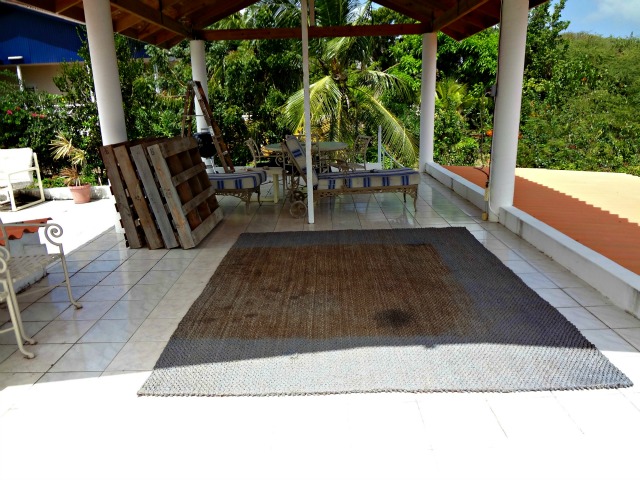
Once the painting was complete and the husband helped me schlep her up to the roof, the real easy hard work was ready to begin.
Here is how to make a pallet bed in 3 easy steps.
1. Ask a friend who is in the process of building a house and has a nice pile of construction debris if you can have some pallets.

2. Lay pallets in a square formation over your newly painted old ragged ass rug.
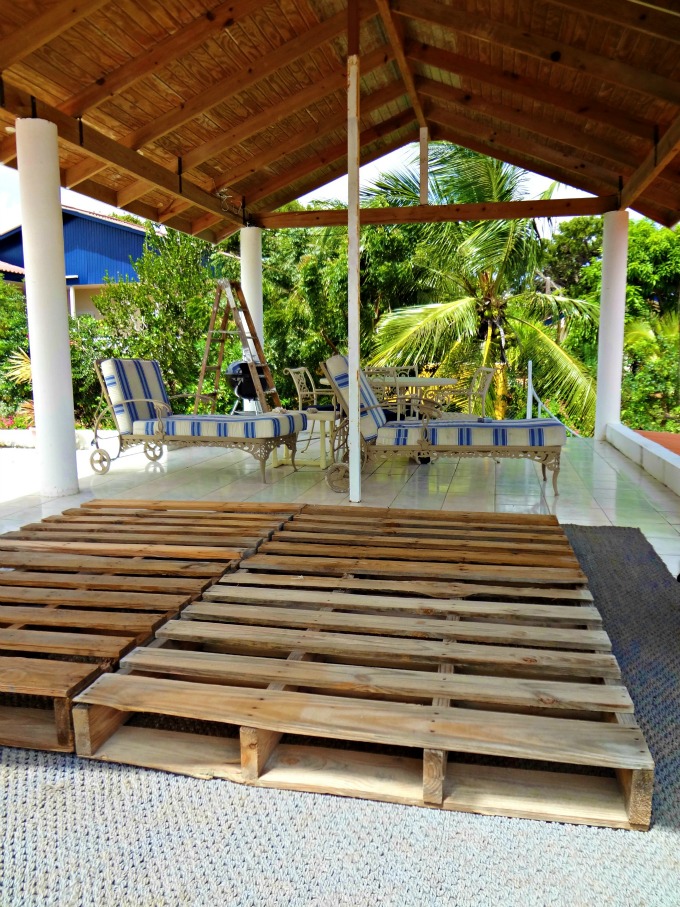 We actually waited through a few rain storms to make sure our placement was in the driest spot possible. But, please refer back to the Biggest Tip Evah!!! before proceeding.
3. Place mattress on pallets. Ta Da!!!
And, if you really want to get all fancy pants you can do a very poor thorough job of painting the exposed parts of the pallets.

So … basically, this was a very long winded way to say lay a few pallets on the ground and … if you like it put a mattress on it. 😉
And, to see more pics of my new favorite room, our rooftop bedroom you can go here.
And, to learn how to make those little jar candles go here.
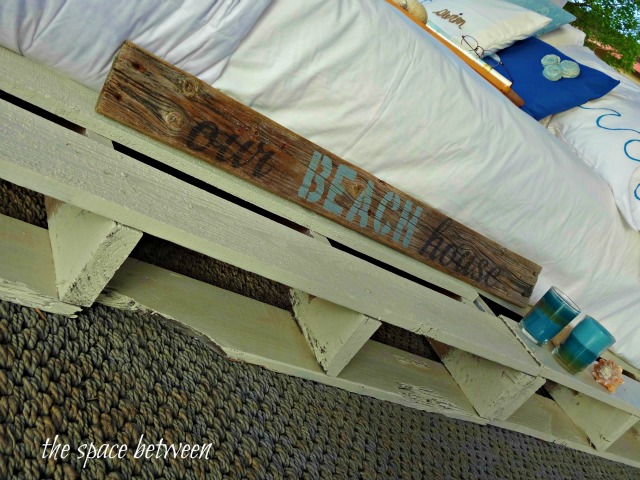
Aaaand, to see how to do an image transfer like the one on the ‘our beach house’ sign go right here. 🙂
Now, head over and see what these gals have been up to on the cinchy front. 🙂
And, just one more thing, I want to say a big Thank You! to Construction Management Degree for including this here blog in their list of the Top 100 DIY Sites. I’m proud to be sporting their button in the right sidebar, and you can click on it to check out the amazing company we are keeping on the list. 🙂




Anne says
Congrats Karah! That’s fantastic!! Way to go 🙂
Linda @ it all started with paint says
Karah, just love it. Now I just need to get me some pallets and a rooftop on a Caribbean Island and I’m all set!
So happy to be “It’s a Cinching” with you …
🙂
Linda
thistle says
Karah,
This is such an easy project! And I’m with Linda….I just need the rooftop in the Carribean Island to go with it 🙂
I love it!
🙂 me
cassie says
i’m on my way over with a 6 pack!
Kelly @ Eclectically Vintage says
Love that lonely little weed growing thru the rug! Glad you took the advice on the spray primer and Just Do It!
My kind of gal – just do what you can see. If anyone starts lifting the mattress and checking the paint job on those pallets or rug, don’t invite them back!
And the Best Tip Evah really is – figure you’ll get a few years out of some of that stuff and you won’t feel bad about any deterioration.
Kelly
Maury @ Life on Mars says
Awesome! I love the spray painted rug (you know me and spray paint). The color just makes it look like the color of weathered driftwood. Perfect!
Marilyn says
Karah, I LOVE this! Easy and great laid back feel for your outdoor space. LOVE LOVE LOVE it!!!!
Kelly @ Corner of Main says
That was pretty easy, but it really looks great!
Amy@BuffaloRoam says
I need a vacation, and I’ve decided your outdoor bedroom is our destination.
Do you take reservations?
Holly @ Life as a Thrifter says
A-MA-ZING!!!
Whitney @ Drab to Fab Design says
The more of this project I see, the more I love it. What a freakin view!!
Cindy says
Hi Karah,
Your pallet bed looks great! I think this would be fabulous in a boy’s room too. I love the look of it.
Cindy
RHome410 @ Friday is Pizza, Monday is Soup says
So cool… I hope that fits in a couple of ways!
Laurel Stephens says
I enjoyed reading about every moment of this bed’s creation and I featured it today on Friday Finds.
Cranberry Morning says
I didn’t see the part about ‘Carribean Island’ until after I’d pinned the amazingly cool pallet bed! Even in NW Wisconsin, it’s hot in the summertime and this would be great to have in the backyard, under an awning! Thanks. Love the dog in the photos too. Arf.
Ashley@AttemptsAtDomestication says
So cool! And what a gorgeous view! I’m totally swooning over that bed!
Jennifer @ Dimples and Tangles says
Oh my, what a beautiful space, I would never leave that bed!
Carolyn Sullivan says
I love it. How did you do the ‘headboard’? it looks like mor pallets. I think it would nice and rustic in a house too. but the carabean island…. that’s too cool.
Diane says
¡Hola from Isla Mujeres!
I’ve got the Caribbean island part covered, and the rooftop with the water view. Now to score dog vomited on rug, pallets and a mattress……….
Very sweet job. Loving your blog!
Jessica@ fourgenerationsoneroof says
I just came across this post and I would love one of these! Nice job 🙂
Karah says
It really was heavenly!!!